
A guide on how to make sourdough bread at home, with an easy Dutch oven recipe for beginners
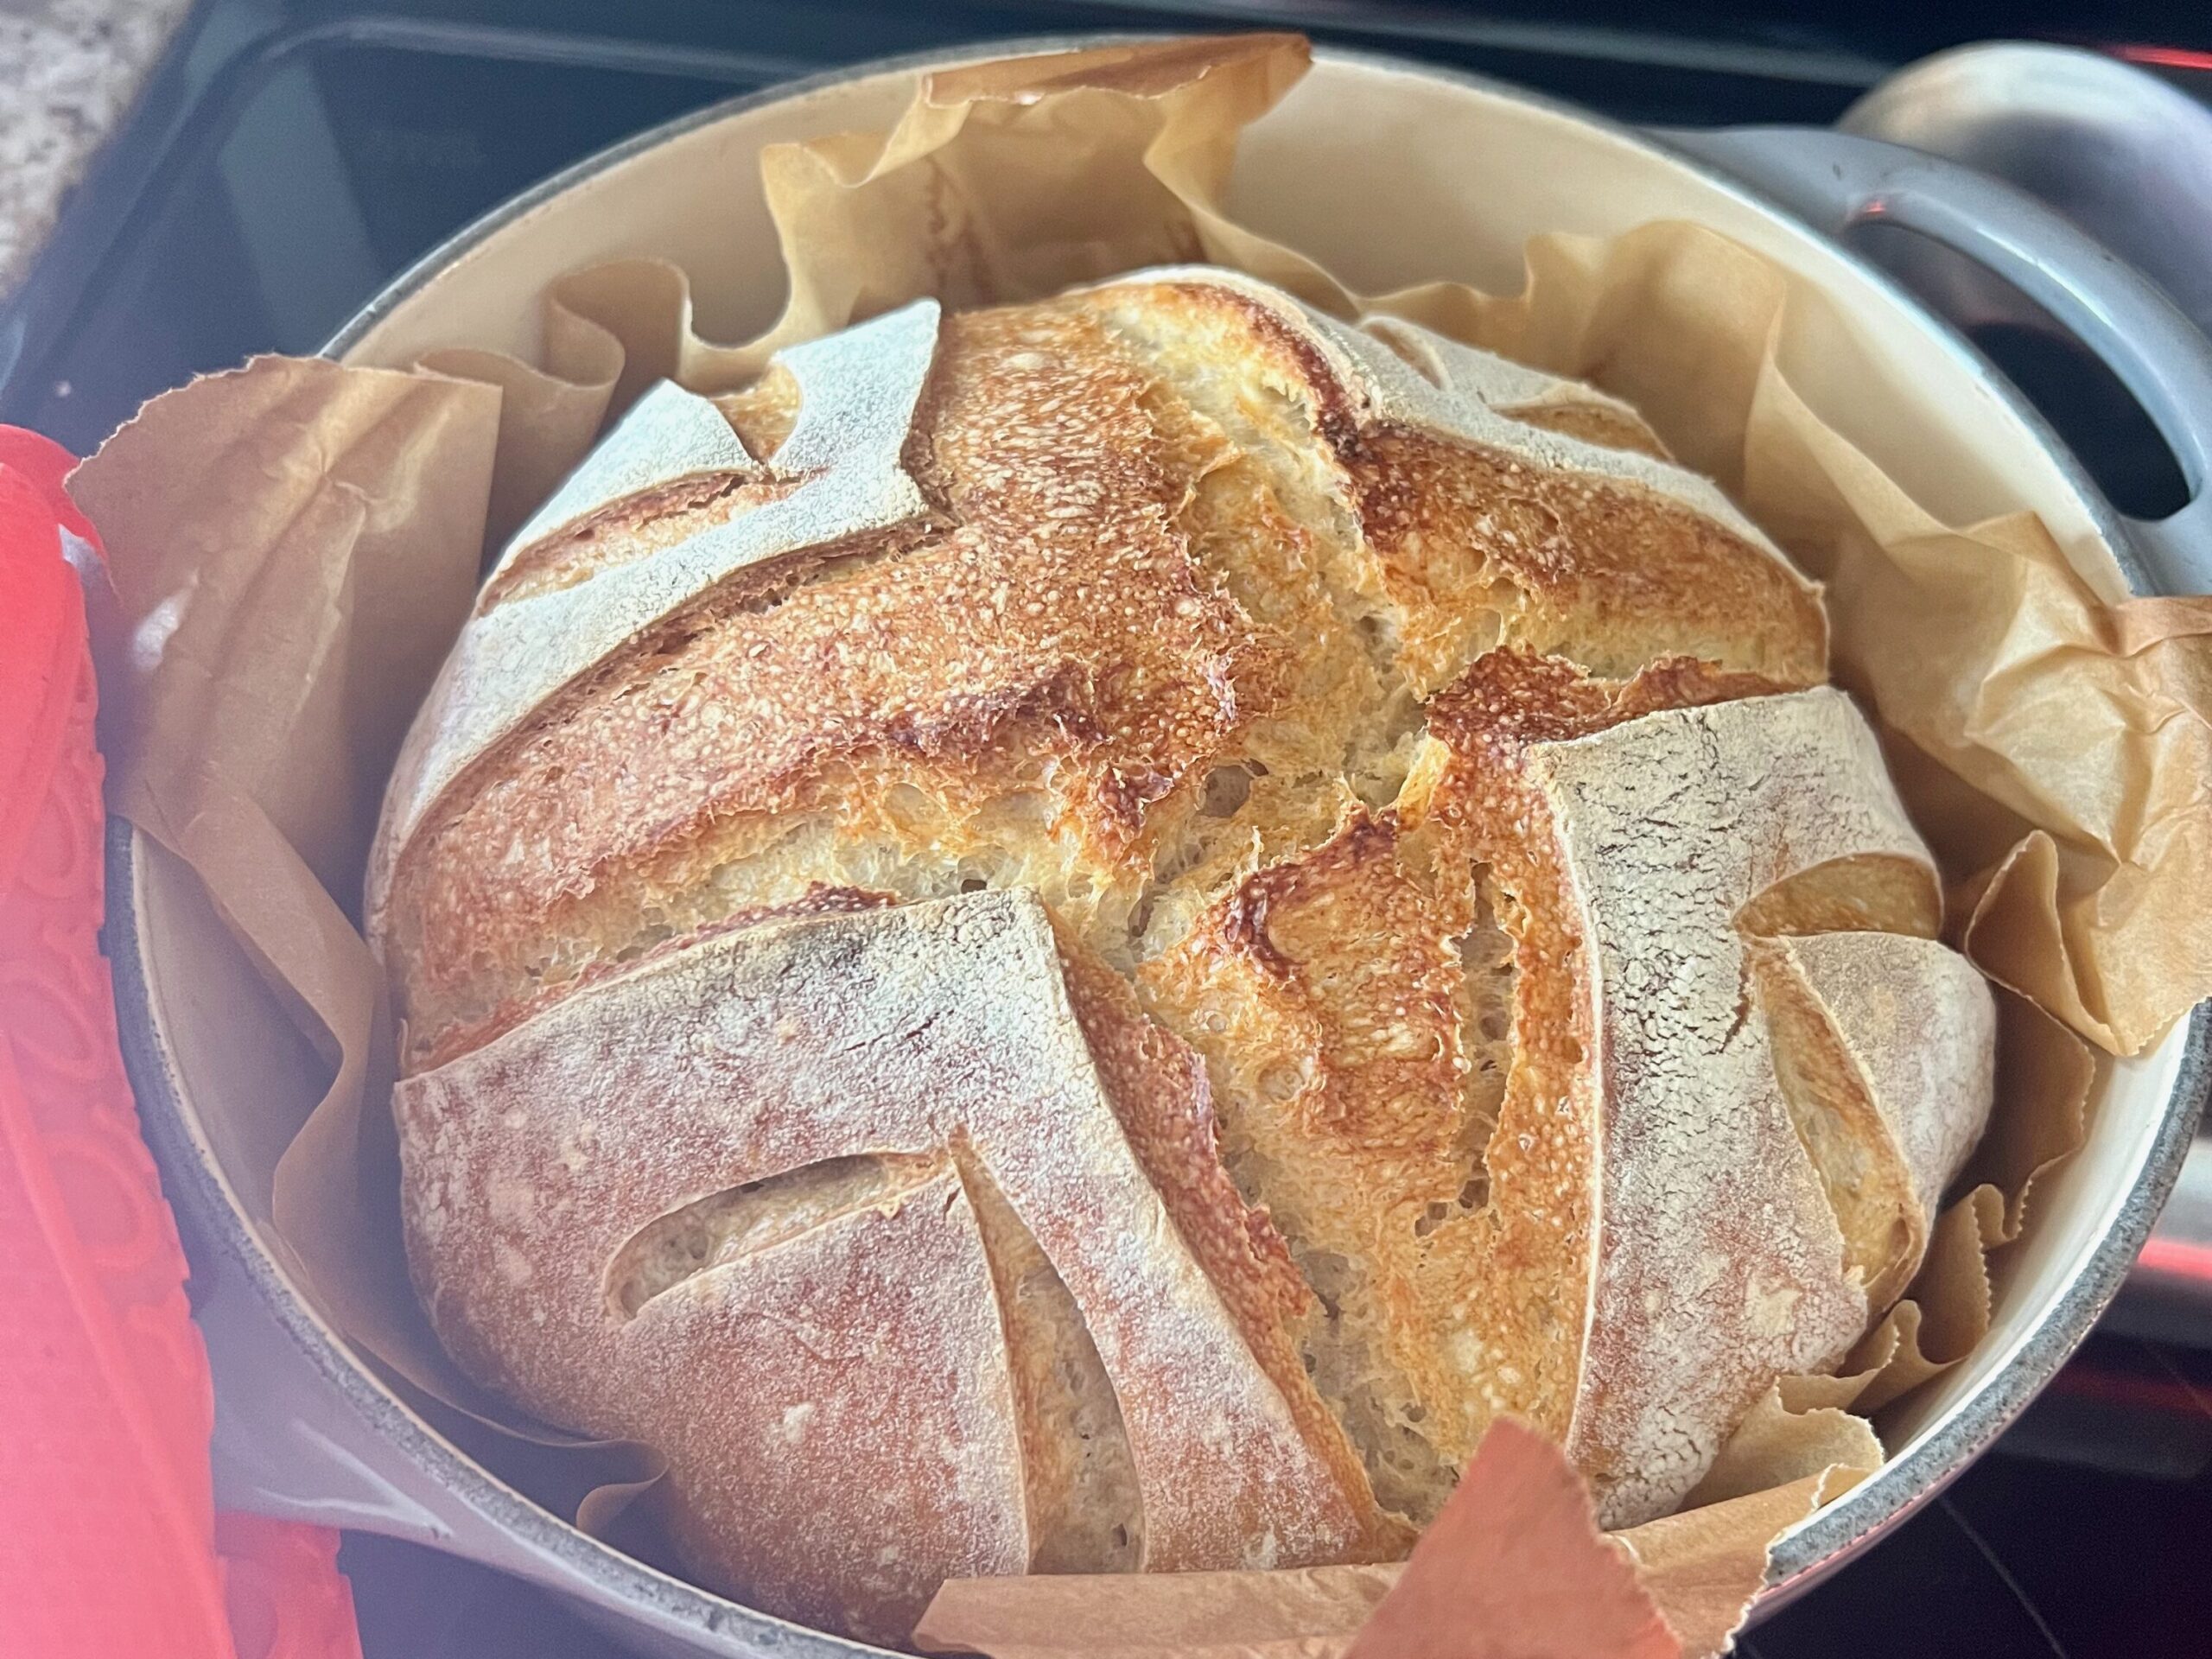
Mmmmm, a golden, crackly crust with a soft, chewy center and the slightest tang. Is there ANYTHING better than a warm loaf of homemade bread, fresh from the oven? In my opinion, there is not.
And if you're willing to put a little time into it, sourdough takes the cake. (Erm, bread?)
There's something almost magical about transforming a few simple ingredients — flour, water, salt, and sourdough starter — into a gorgeous, bakery-worthy loaf. The kind of bread that makes your kitchen smell incredible and has everyone hovering around the counter, asking when they can cut into it.
I've been baking sourdough for years, and let me tell you, I've had my fair share of failures. Dense loaves, flat loaves, loaves that looked more like hockey pucks than artisan bread. You name it, I've probably baked it.
But after plenty of trial and error, this is the sourdough bread recipe I turn to again and again when I want a dependable, delicious loaf.
It's made with a combination of all-purpose and whole wheat flour for great flavor and texture, and it's baked in a Dutch oven to create a beautifully crisp crust and tender, chewy interior.
Best of all? This recipe makes TWO loaves. One for you and one for a friend. Or, if your family goes through bread like mine does, one for now and one for tomorrow (or one for the freezer).
And while sourdough does require some patience, most of that time is hands-off. You can let your dough rise while you're working, running errands, helping with homework, or folding a mountain of laundry (No? Just me?).
Let's make some bread!
Why You'll Love This Homemade Sourdough Bread Recipe
If you've always wanted to try making sourdough bread at home but felt intimidated by the process, this recipe is for you.
Here's why I love it:
- Only five ingredients. You probably already have most of them in your kitchen.
- No fancy bread-making skills required. I'll walk you through the process, step by step.
- A perfectly crispy crust. Baking sourdough bread in a Dutch oven helps trap steam for that beautiful artisan-style crust.
- Soft, chewy interior. The combination of all-purpose and whole wheat flour creates a flavorful loaf with wonderful texture.
- Flexible timing. An overnight refrigerated proof lets you bake when it's convenient.
- Two loaves in one batch. Keep one and share the love (or freeze it for later).
Plus, sourdough goes with practically anything. Serve it with a cozy bowl of soup, toasted with butter and jam for breakfast, or sliced and made into the world's most delicious grilled cheese.
And once you start making your own, it's pretty hard to go back to store-bought bread.
What Is Sourdough Bread?
Unlike traditional bread made with commercial yeast, sourdough relies on a naturally fermented mixture of flour and water called a sourdough starter.
The sourdough starter contains naturally occurring yeasts and lactic acid bacteria that work together to ferment the dough, helping it rise while developing sourdough's signature flavor.
That fermentation process gives sourdough its slightly tangy taste, chewy texture, and complex flavor.
The best part? You don't need a long list of ingredients or preservatives. Just a little flour, water, salt, and your trusty starter.
What Is a Sourdough Starter?
Think of your sourdough starter as a very low-maintenance kitchen pet. I even gave mine a name — Sal. 🥰
It's a living mixture of flour and water that you "feed" periodically with more water and flour to keep the yeast and bacteria happy and active.
You can make a sourdough starter from scratch, get some from a friend who bakes, or purchase an established starter.
If you're making your own, plan on giving it at least a week or two — and sometimes longer — to become strong enough to reliably raise bread.
How do you know your starter is ready? A healthy, active starter should rise consistently after feeding, become bubbly and airy, and have a pleasantly tangy aroma.
For this recipe, you'll want to use a ripe starter that's at or near its peak after feeding.
Ingredients for Homemade Sourdough Bread
One of my favorite things about sourdough is how something so delicious can come from such simple ingredients.
You'll need:
- 2 cups (454g) ripe sourdough starter, stirred down: This is what makes your bread rise and gives it that distinctive sourdough flavor. Use a healthy, active starter that's been recently fed. This recipe assumes a 100% hydration starter (equal weights of flour and water).
- 5 cups (602g) all-purpose flour: All-purpose flour creates a soft, tender crumb while providing enough structure for a beautiful loaf. I recommend unbleached flour for consistent results.
- ¾ cup (85g) 100% whole wheat flour: A little whole wheat flour adds a little nuttiness and makes the bread taste a bit more rustic. It also absorbs more water than white flour.
- 1¾ cups (400g) warm water: Water hydrates the flour and brings everything together. Aim for comfortably lukewarm rather than hot water, especially if your kitchen is already warm.
- 2½ teaspoons (11g) kosher salt: Don't skip this! Salt enhances flavor and helps strengthen the dough.
A note about measuring: I highly recommend using a kitchen scale for sourdough baking. Measuring flour by volume can be inconsistent, and small differences can change how your dough behaves.
If you have a scale, use the gram measurements for the best results.
Can I Substitute Different Flours?
Absolutely! Just keep in mind that different flours absorb water differently and can change the texture of your dough.
Bread flour: You can substitute bread flour for some or all of the all-purpose flour. Its higher protein content generally produces a stronger, chewier loaf.
Whole wheat flour: You can experiment with increasing the whole wheat flour for a heartier, nuttier loaf. More whole wheat generally requires more water / hydration and can create a denser crumb.
Rye flour: Replacing a small portion of the flour with rye can add a nice earthy flavor.
Gluten-free flour: Traditional sourdough is not gluten-free. For a gluten-free version, use a recipe specifically developed and tested with gluten-free flour and starter rather than making a direct substitution.
My advice? Start with the recipe as written for your first loaf. Once you're comfortable with the process, experiment with different flours and flavors.
Equipment You'll Need to Make Sourdough Bread
You don't need an entire collection of professional bread-baking equipment, but a few tools make the process much easier.
Kitchen scale: This is my number-one recommendation. Sourdough is all about ratios, and a scale takes the guesswork out of measuring. This is the kitchen scale I use and love.
Straight-sided container: I love using a Cambro storage container for bulk fermentation. The straight sides make it easy to see exactly how much your dough has risen. Mark the starting level with a rubber band or wet-erase marker.
Dutch oven: A heavy Dutch oven is my favorite way to bake sourdough. I use my Le Creuset, but any oven-safe Dutch oven with a well-fitting lid can work. Always check the manufacturer's temperature limits, including the lid and knob.
Banneton or proofing basket: A banneton helps your dough hold its shape during the final rise. If you don't have one, a bowl lined with a well-floured kitchen towel works just as well.
Bench scraper: Helpful for shaping and transferring sticky dough. Here's the bench scraper I use.
Bread lame, sharp knife, or razor blade: You'll use a knife or lame to score the dough before baking.
Parchment paper: Makes transferring dough into a hot Dutch oven easier. Check the parchment's temperature rating before using it.
Wire cooling rack: A cooling rack allows air to circulate around your freshly baked loaf.
And that's it! No industrial-sized mixer or professional bakery required.
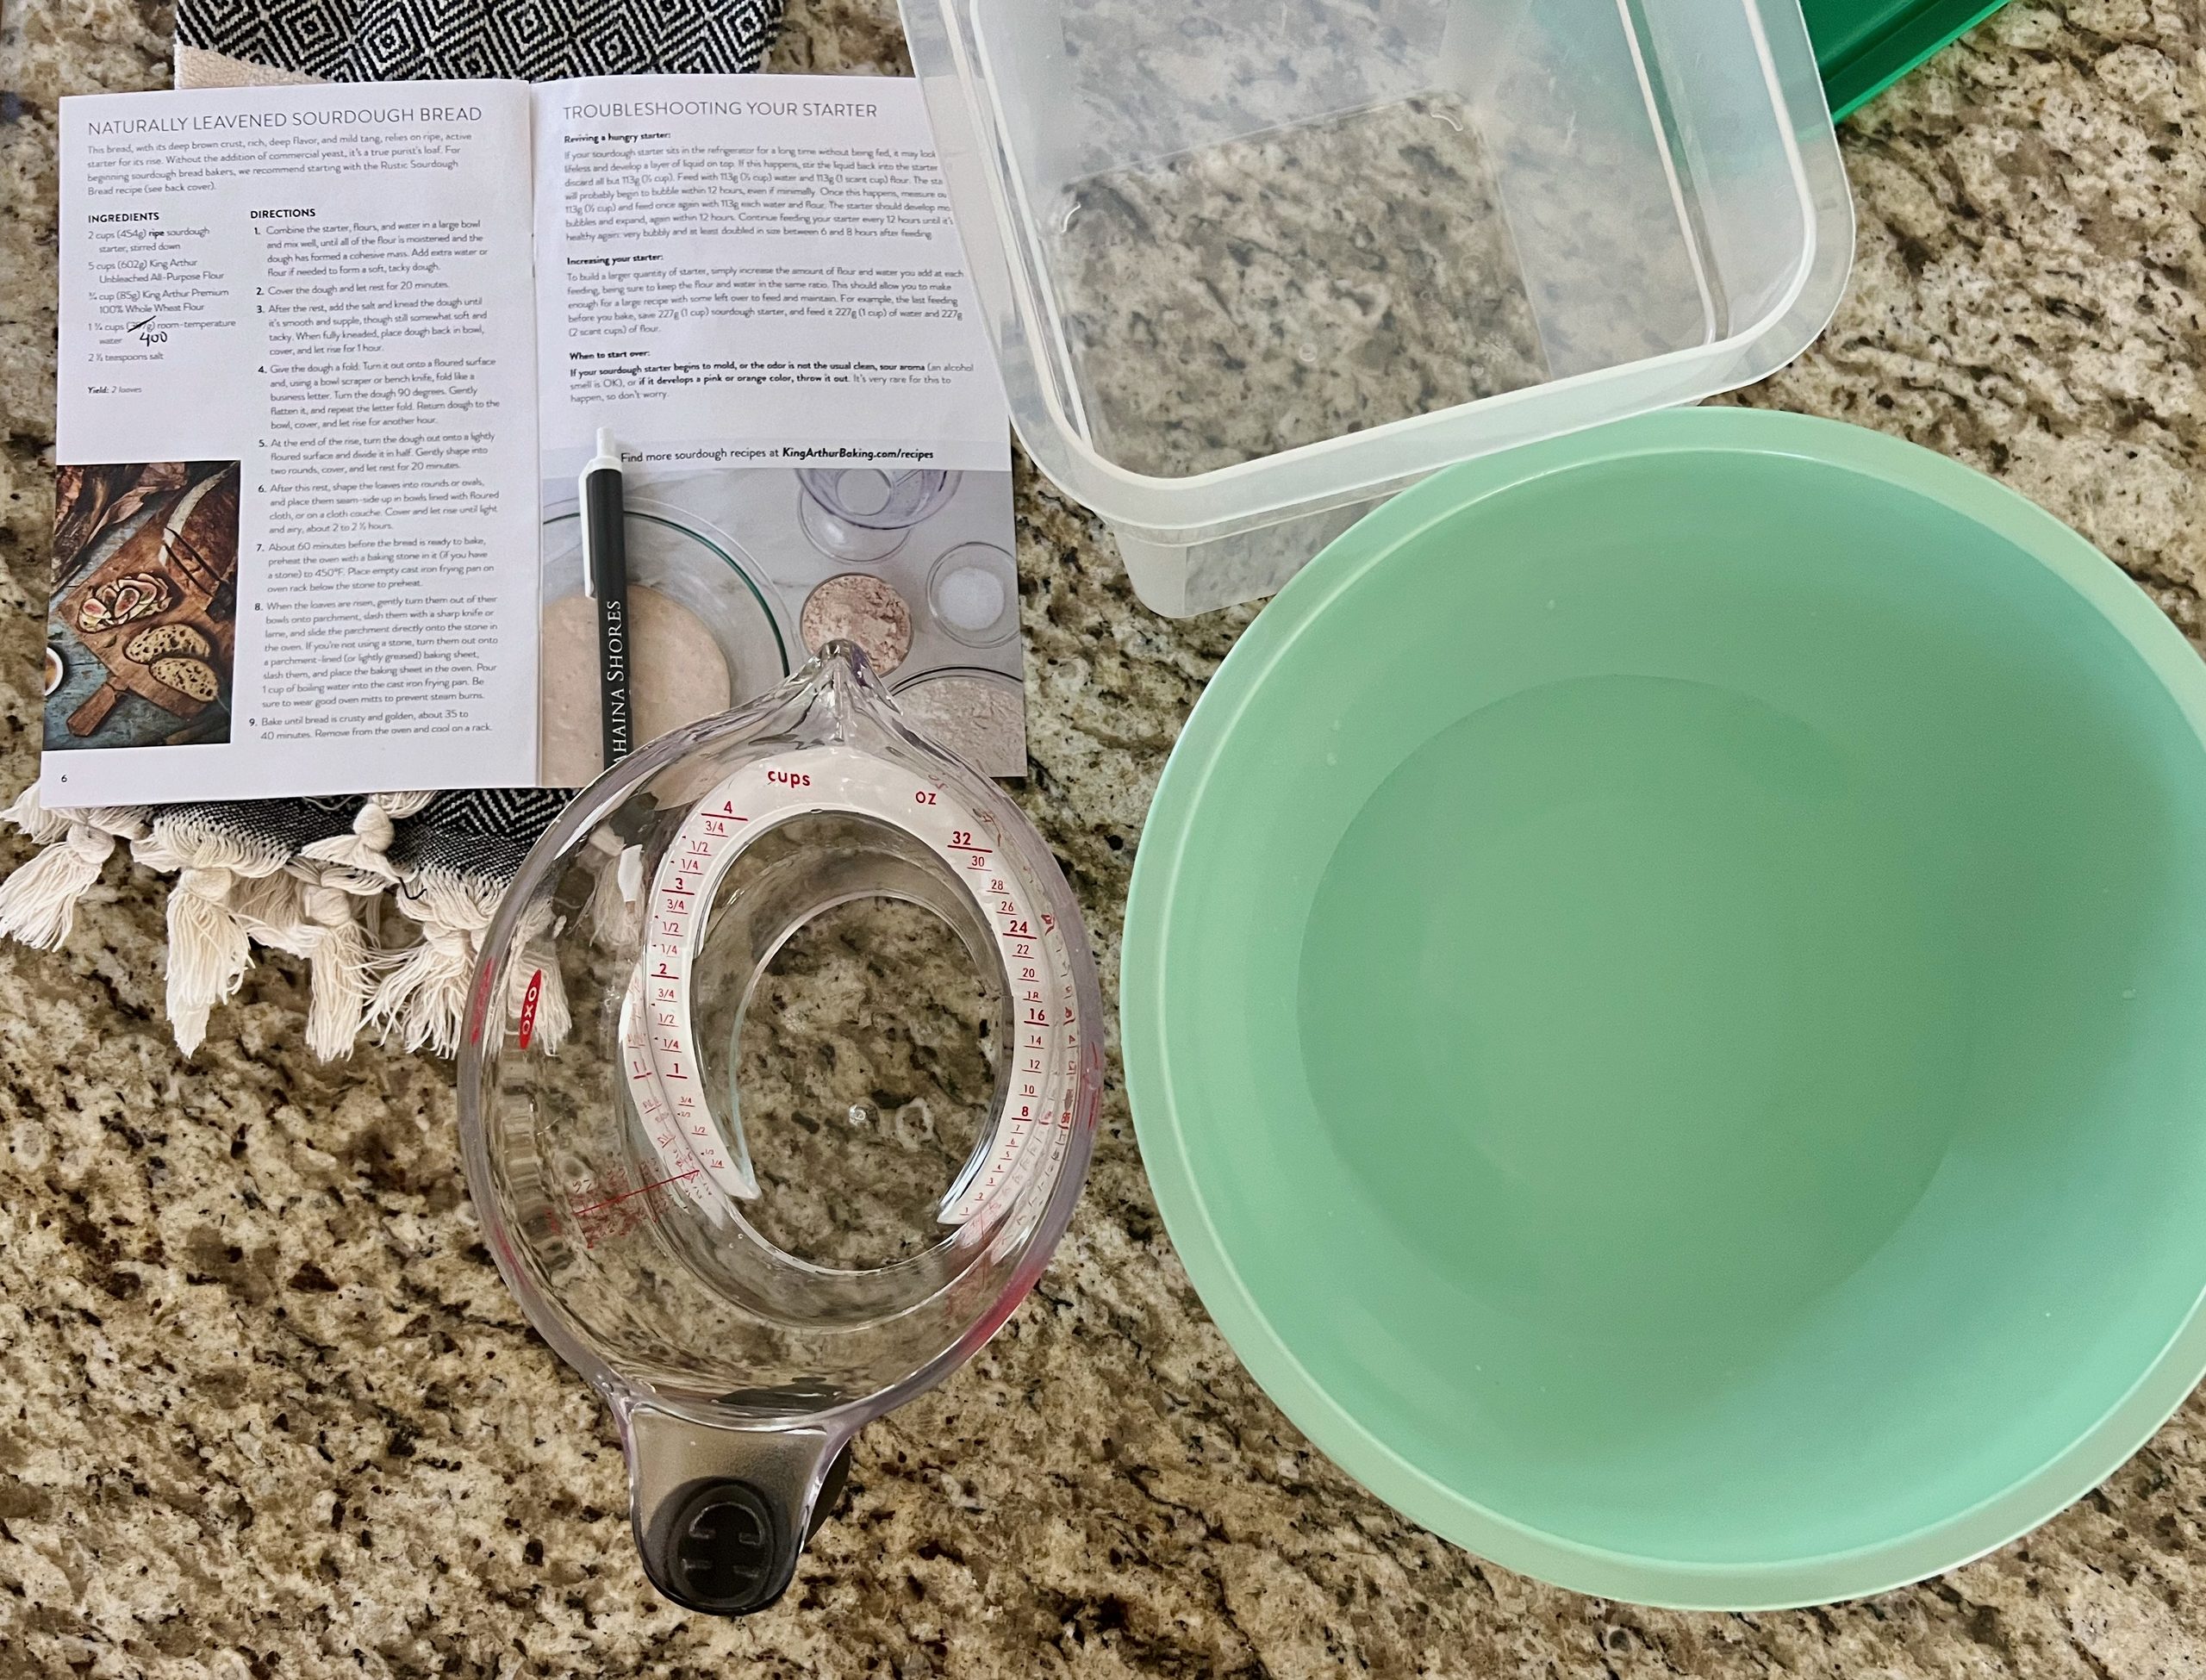
How to Make Sourdough Bread in a Dutch Oven: Step by Step
Ready to bake? Let's walk through the process.
Making sourdough bread takes time, but the individual steps are relatively straightforward. The most important thing to remember is that sourdough is a living dough, so fermentation times will vary based on your starter and kitchen temperature.
Step 1: Mix the Sourdough
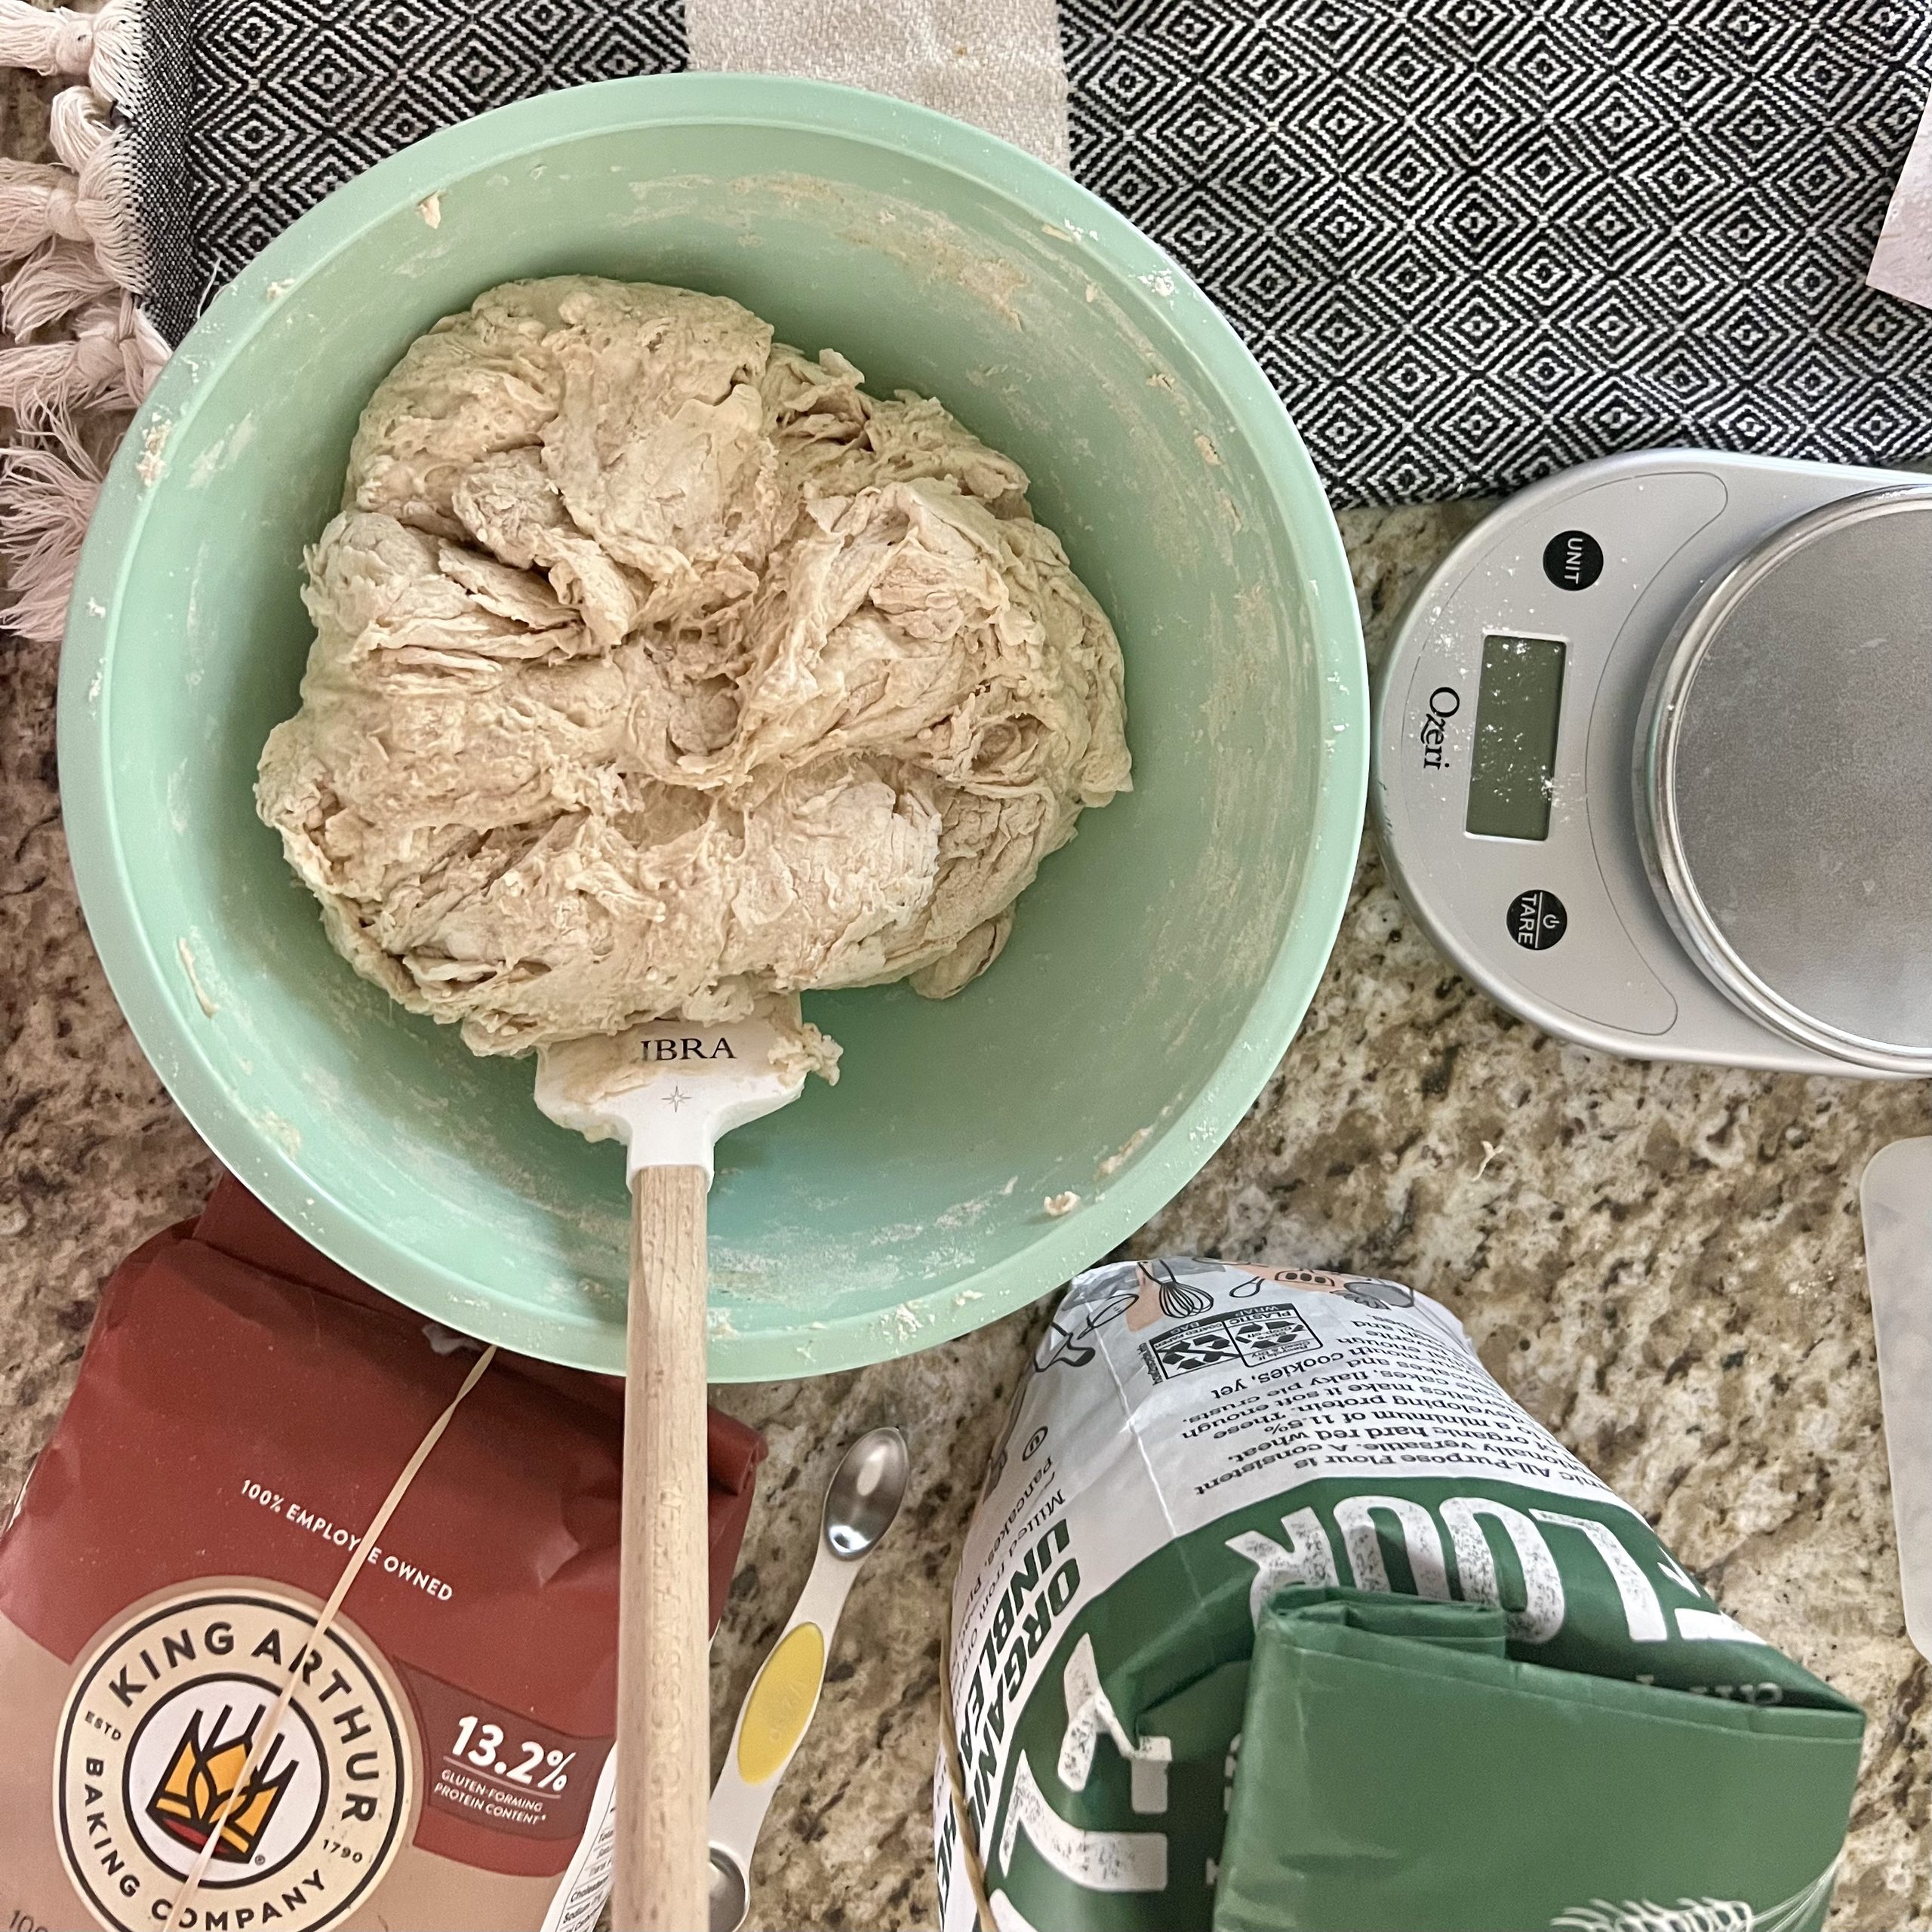
In a large bowl, combine the ripe sourdough starter, warm water, all-purpose flour, whole wheat flour, and kosher salt.
Use a fork, spatula, dough whisk, or your hands to mix until all the flour is moistened and forms a cohesive dough.
The dough should feel soft and slightly tacky, but not like a liquid batter.
If it seems unusually dry, add a little water at a time. If it's extremely wet, let it rest before adding more flour — flour needs time to absorb water.
Transfer the dough into your straight-sided container. Mark the starting dough level, cover, and let it rest for 30 minutes.
💡 My tip: Resist the urge to keep adding flour because the dough feels sticky. Sourdough is naturally tackier than other traditional bread doughs.
Step 2: Stretch and Fold the Dough
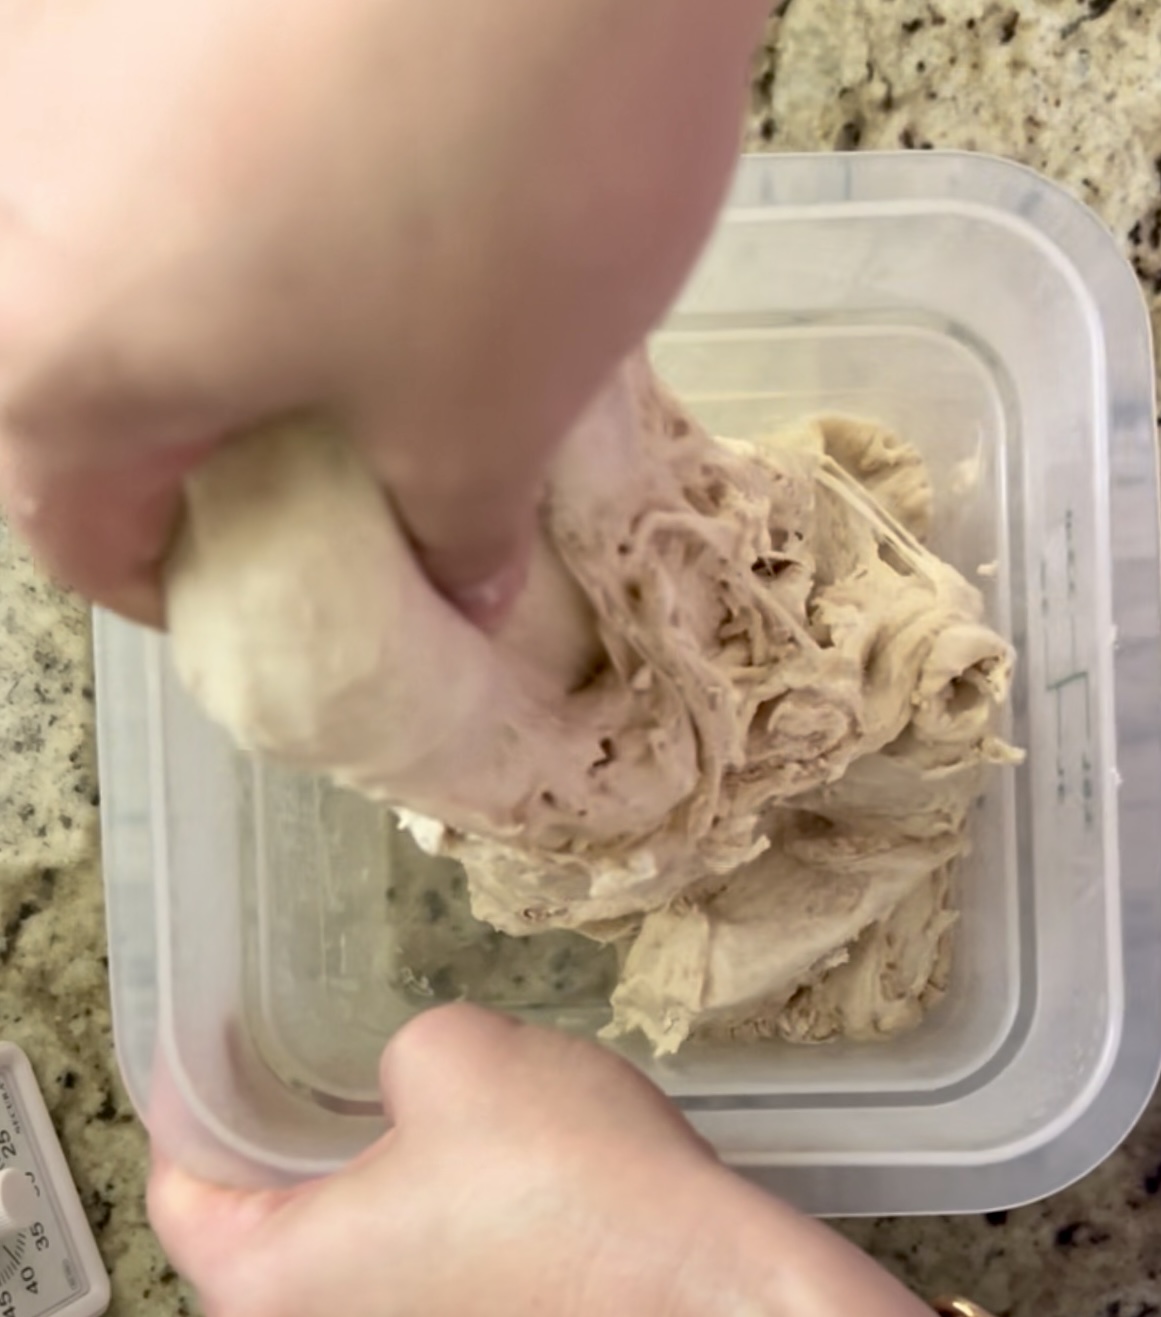
After the first 30-minute rest, it's time to build strength in your dough.
Don't worry, this sounds far more complicated than it actually is.
With slightly damp hands:
- Grab one corner / side of the dough from the bottom of your container.
- Gently stretch it upward without tearing.
- Fold it over toward the center.
- Rotate the container a quarter turn.
- Repeat until you've worked your way around all four corners / sides.
That's one set of stretch-and-folds!
Cover and let the dough rest for another 30 minutes.
Repeat this process until you've completed four or five sets over approximately two hours.
You'll notice the dough gradually becomes smoother, more elastic, and better at holding its shape.
This helps develop the gluten structure without requiring extensive kneading.
Alternative method: If you prefer kneading, you can knead the dough until smooth and supple, let it rise for an hour, then perform two letter folds before allowing it to continue fermenting.
Step 3: Let the Dough Rise (Bulk Fermentation)
Now comes the part that requires the most patience — and the least actual work.
Cover your container and allow the dough to ferment at room temperature.
In a 70°F (21ºC) kitchen, this process can take several hours. Although it may take eight to ten hours in a cooler kitchen, this recipe has a large amount of starter, so your dough may be ready much sooner than you'd expect.
Rather than relying only on the clock, look for these signs:
- The dough has increased in volume by approximately 50%.
- Small bubbles are visible along the sides or surface.
- The surface looks slightly rounded and airy.
- The dough jiggles gently when you move the container.
💡 Here's the secret to successful sourdough: Watch the dough, not the clock.
A warm kitchen speeds up fermentation, while a cooler kitchen slows it down. Starter strength, flour choice, and dough temperature also make a difference.
Once your dough shows the signs of sufficient fermentation, you're ready to shape.
Step 4: Shape Your Sourdough Loaves
Lightly flour your countertop or working surface and gently turn out the dough.
Using a bench scraper or sharp knife, divide it into two equal portions.
Working with one portion at a time, gently fold the edges toward the center, rotating the dough as you go.
Turn the dough seam-side down and use your hands or a bench scraper to gently pull it toward you, creating tension across the surface.
Repeat with the second dough ball.
The goal is to create two smooth, round loaves without squeezing out all the air pockets.
Cover the dough and let the rounds rest on the counter for about 30 minutes.
Meanwhile, prepare two 9-inch bowls or bannetons with clean kitchen towels generously dusted with rice flour.
💡 Why rice flour? It's less likely to absorb moisture and become sticky, making it helpful for preventing dough from clinging to your proofing basket. It's also less likely to burn in the oven while baking.
After the rest, gently tighten each round again and transfer it into the prepared baskets, seam-side up.
Step 5: Refrigerate the Dough (Cold Proof)
Cover your proofing baskets with plastic wrap (I like to use a plastic shower cap) and place them in the refrigerator.
This is one of my favorite sourdough tricks because it makes the baking schedule so much more flexible.
You can refrigerate the dough for at least an hour, but I prefer a longer cold proof, around 24 hours, when the dough has been fermented properly.
The cool temperature slows fermentation and allows more complex flavors to develop.
It also makes the dough easier to score and handle.
Keep in mind that longer isn't always better. Dough can overproof even in the refrigerator, so the ideal cold-proof duration depends on how far fermentation progressed before refrigeration.
Step 6: Preheat Your Dutch Oven
When you're ready to bake, place your Dutch oven and lid inside the oven and preheat to a temperature that's safe for your equipment.
For many Dutch ovens, 450°F (230°C) is a good baking temperature, but check the manufacturer's instructions to be sure your Dutch oven can withstand that temperature.
Allow the oven and Dutch oven to preheat thoroughly, typically for about 30–45 minutes.
If you're using enameled cast iron, check whether your manufacturer recommends preheating the pot empty. Here's what Le Creuset has to say.
Step 7: Score Your Sourdough Bread
Remove one loaf from the refrigerator.
Place a piece of parchment paper over the basket, then carefully invert the dough onto the parchment.
Using a bread lame, razor blade, or sharp knife, score the top of your loaf.
I like making a simple "X" because it's easy and gives the bread a beautiful rustic appearance.
Scoring isn't just decorative — it gives the dough a controlled place to expand as it bakes.
Carefully remove the preheated Dutch oven from the oven, lower the dough inside, and cover immediately.
💡 Safety tip: The Dutch oven will be extremely hot. Use sturdy oven mitts and keep your hands and face away from any escaping steam.
Step 8: Bake Until Golden and Crispy
Bake the covered loaf at 450°F (230°C) for approximately 20 minutes.
The lid traps moisture released by the dough, creating steam that helps the bread expand before the crust sets.
After 20 minutes, carefully remove the lid and reduce the oven temperature to 400°F (200°C).
Continue baking for another 15–20 minutes, or until the crust is a deep golden brown.
If you have an instant-read thermometer, the center of a fully-baked sourdough loaf will be around 205–210°F (~96-99ºC).
Transfer the bread to a wire rack and repeat with your second loaf.
Step 9: Let Your Bread Cool
I know. I KNOW.
You just pulled a gorgeous loaf of sourdough from the oven, your kitchen smells like heaven, and all you want to do is cut into it and spread on some butter.
But PLEASE try to resist! Let your bread cool on a wire rack for at least an hour, preferably until it's no longer warm inside.
Cutting into sourdough too early can leave the center gummy because the crumb is still setting. Trust me, it's worth the wait. After it's cool, you can slice it, butter it generously, and enjoy your little slice of sourdough heaven.
Can You Make Sourdough Bread Without a Dutch Oven?
Yes! While this is my favorite Dutch oven sourdough bread recipe, you can absolutely bake sourdough without one.
A baking stone or sturdy baking sheet can work, too.
The main difference is steam.
A Dutch oven traps the moisture that is released by the dough, helping create a crisp crust and beautiful rise.
Without one, you'll need another way to introduce steam during the initial baking period.
One option is to place an oven-safe metal pan on a lower rack and carefully add boiling water once the bread goes into the oven.
However, steam can cause serious burns, so be careful. Avoid glass pans, which can shatter, and check your oven manufacturer's guidance before using this technique.
A Simple Sourdough Schedule for Busy Families
One of the biggest misconceptions about sourdough is that you need to stay home all day to make it. This is simply not true!
Most of the process involves waiting while the dough ferments. Here's an example of how I like to fit sourdough into a weekend:
Friday morning: Feed your sourdough starter.
Friday afternoon: Once your starter is active and ripe, mix your dough. Complete the stretch-and-fold sets over the next couple of hours.
Friday afternoon or evening: Watch for the signs that your dough has finished its bulk fermentation stage. Shape your loaves and refrigerate.
Saturday: Once the dough is adequately proofed, bake your bread whenever it fits your schedule.
This is an example, not a fixed timetable. Depending on your starter and kitchen temperature, you may need to begin earlier, later, or spread the process over multiple days. The important thing is finding a schedule that works for you.
Tips for Making the Best Sourdough Bread
After years of baking sourdough (and plenty of less-than-perfect loaves), these are the tips I wish someone had shared with me when I started.
1. Use an active, healthy starter. If your starter isn't strong enough, your bread won't rise properly. Make sure it's reliably rising after feedings before baking.
2. Invest in a kitchen scale. Seriously. It's inexpensive (this is a great affordable option) and makes sourdough baking significantly more consistent.
3. Pay attention to temperature. Having a warmer kitchen means faster fermentation. Cooler kitchens mean slower fermentation. Learn to recognize the dough's readiness rather than relying on exact times.
4. Don't skip the stretch-and-folds. They strengthen the dough and improve its ability to hold its shape.
5. Try a cold proof. Refrigerating your dough makes shaping and scoring easier while allowing additional flavor to develop.
6. Don't rush the cooling process. Your bread needs time to set before slicing.
7. Don't expect perfection. Your first loaf might be a little wonky. That's okay! Homemade sourdough is a skill, and every loaf teaches you something.
Easy Ways to Customize Your Sourdough Bread
Once you've mastered the basic recipe, experimenting with flavors is half the fun.
A few of my favorite combos:
Rosemary and sea salt: Fold chopped fresh rosemary into the dough during the stretch-and-fold stage. Finish with a little flaky sea salt for a savory loaf that's wonderful alongside soup or roasted chicken.
Roasted garlic: Add cooled, well-drained roasted garlic during an early fold for a delicious savory bread.
Cheddar and jalapeño: Fold in shredded sharp cheddar and finely diced jalapeños for a flavorful loaf that's especially good toasted. Remove the seeds for a milder, kid-friendly version.
Cinnamon raisin: Add cinnamon and raisins for a breakfast-friendly loaf. Sweet additions may require changes to hydration and fermentation, so start with a small test batch.
Everything bagel seasoning: Sprinkle a little seasoning over your shaped dough for a fun savory twist.
If you're adding substantial amounts of cheese, vegetables, fruit, or other mix-ins, remember that they can affect how your dough ferments and bakes.
Start small and adjust as you learn.
What to Serve With Homemade Sourdough Bread
Honestly? Just about everything.
There's nothing wrong with a thick slice of fresh sourdough, a generous swipe of salted butter, and a cup of coffee.
But if you're looking for more ways to use your homemade bread, here are a few favorites:
- Breakfast: Toasted sourdough with butter and jam, avocado toast, or French toast.
- Lunch: Turkey sandwiches, tuna melts, grilled cheese, or an open-faced sandwich with tomatoes and fresh mozzarella.
- Dinner: Serve thick slices alongside homemade soup, pasta, stews, or a big family salad.
- Entertaining: Add sliced sourdough to a charcuterie board with cheeses, olives, and dips.
- Leftovers: Turn stale bread into croutons, breadcrumbs, or a delicious breakfast casserole.
For picky eaters, sourdough makes fantastic grilled cheese or simple toast strips for dipping into soup.
And because this recipe makes two loaves, you can enjoy one fresh and save the other for another day.
How to Store Homemade Sourdough Bread
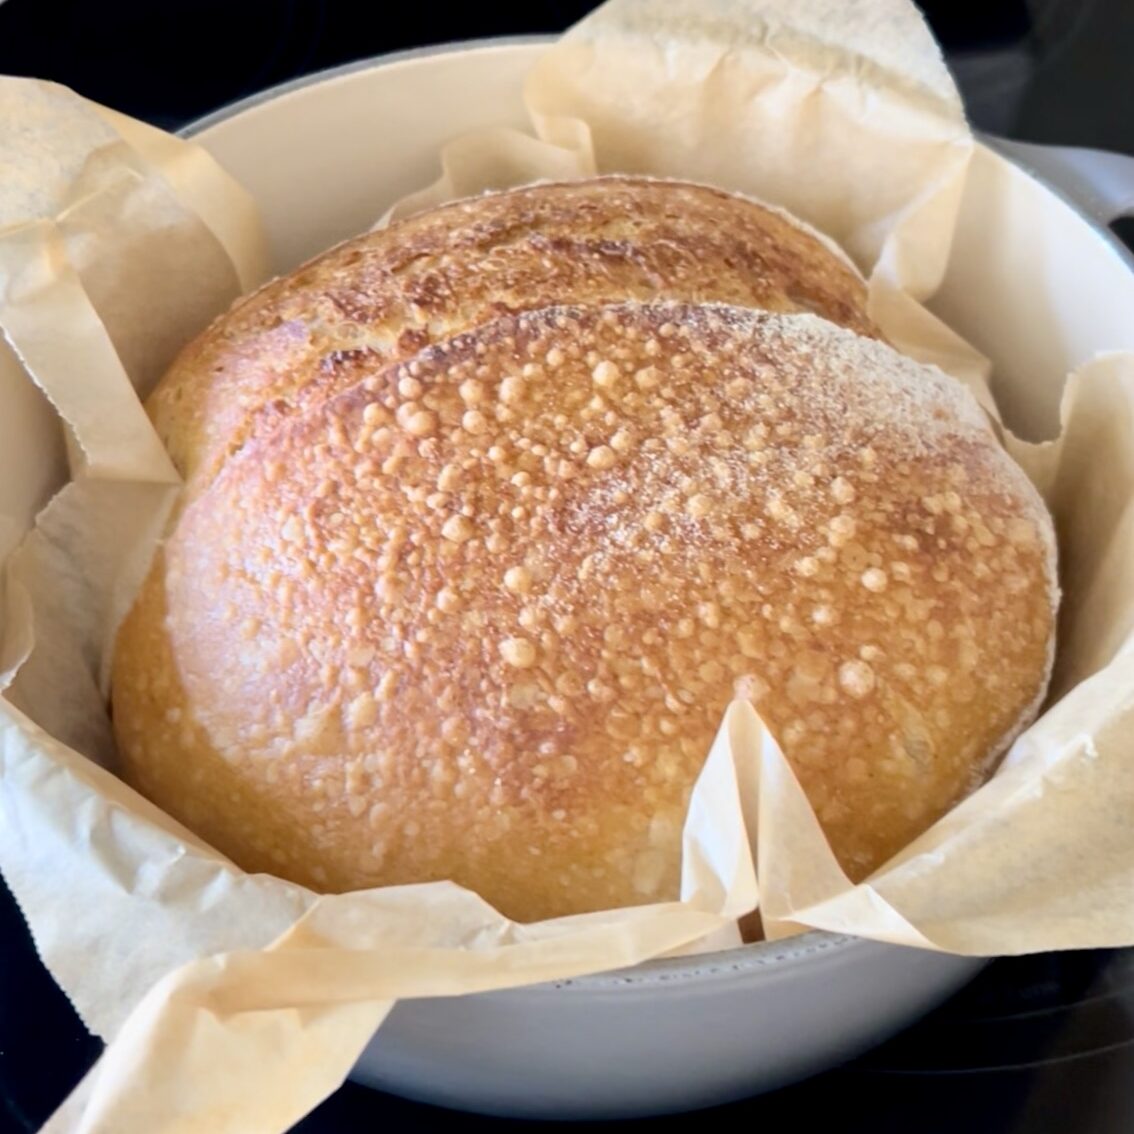
Homemade sourdough bread is best enjoyed fresh, but proper storage helps maintain its texture.
At room temperature: Store your loaf in a bread bag, bread box, or suitable container for up to five days, depending on your kitchen conditions. I've found that the microwave makes a great alternative to a bread box!
I like popping my loaves into a reusable bread bag to help keep my bread fresh. For giving away, I like these bread bags.
In the freezer: For longer storage, slice the bread and freeze it in an airtight freezer-safe bag or container. That way, you can pull out individual slices whenever you need them.
For best quality, use frozen bread within approximately three months.
Avoid refrigeration: Storing bread in the refrigerator can make it go stale faster, so freezing is generally a better option.
My Favorite Trick for Refreshing Sourdough Bread
Want to make day-old sourdough taste almost like it just came out of the oven?
Here's my favorite little trick.
- Preheat your oven to 425°F.
- Once the oven is fully heated, quickly run your whole, unsliced loaf under running water, just long enough to lightly dampen the crust.
- Place the loaf directly on the oven rack.
- Bake for approximately 12–15 minutes, until the crust is crisp again and the bread is heated through.
The moisture helps revive the crust, giving it that wonderful crackly texture.
This works best with an intact, slightly stale loaf — do NOT use bread that has developed mold or spoiled.
It's a small trick that makes your leftover sourdough last a little longer.
Frequently asked questions
Not necessarily! Sourdough takes patience and a little practice, but the actual steps are straightforward. The trickiest part is learning how to recognize when your starter and dough are ready.
For this recipe, I like using a combination of all-purpose flour and whole wheat flour. The all-purpose flour provides a softer texture, while the whole wheat adds flavor. Bread flour is another excellent option if you prefer a chewier loaf.
Absolutely! The refrigerated proof makes this recipe particularly convenient. You can prepare and shape the dough ahead of time, then bake once it's adequately proofed. The exact refrigerated proofing window depends on the dough's fermentation and your refrigerator temperature.
Plan on the process taking much of a day or stretching into the next day, depending on your starter's activity, room temperature, and proofing schedule.
But remember, most of that time is hands-off!
Dense sourdough can result from an underactive starter, insufficient fermentation, overproofing, or problems developing dough strength.
Make sure your starter is healthy and look for visual signs of proper fermentation rather than relying exclusively on the clock.
Yes! Sourdough freezes beautifully. I recommend slicing the loaf before freezing so you can easily toast individual slices.
No, but I highly recommend one for beginners. A Dutch oven creates a steamy environment that helps the bread rise and develop that gorgeous, crisp crust.
No. Traditional sourdough made with wheat flour contains gluten, even after fermentation. If you need gluten-free bread, choose a specifically developed gluten-free sourdough recipe.
Yes! This basic sourdough bread recipe contains no dairy. Just be mindful of any butter, cheese, or other mix-ins / toppings you add.
The Secret to Great Homemade Sourdough? Just Keep Baking.
If there's one thing I've learned from years of making sourdough bread, it's that you don't have to get everything perfect to make something delicious.
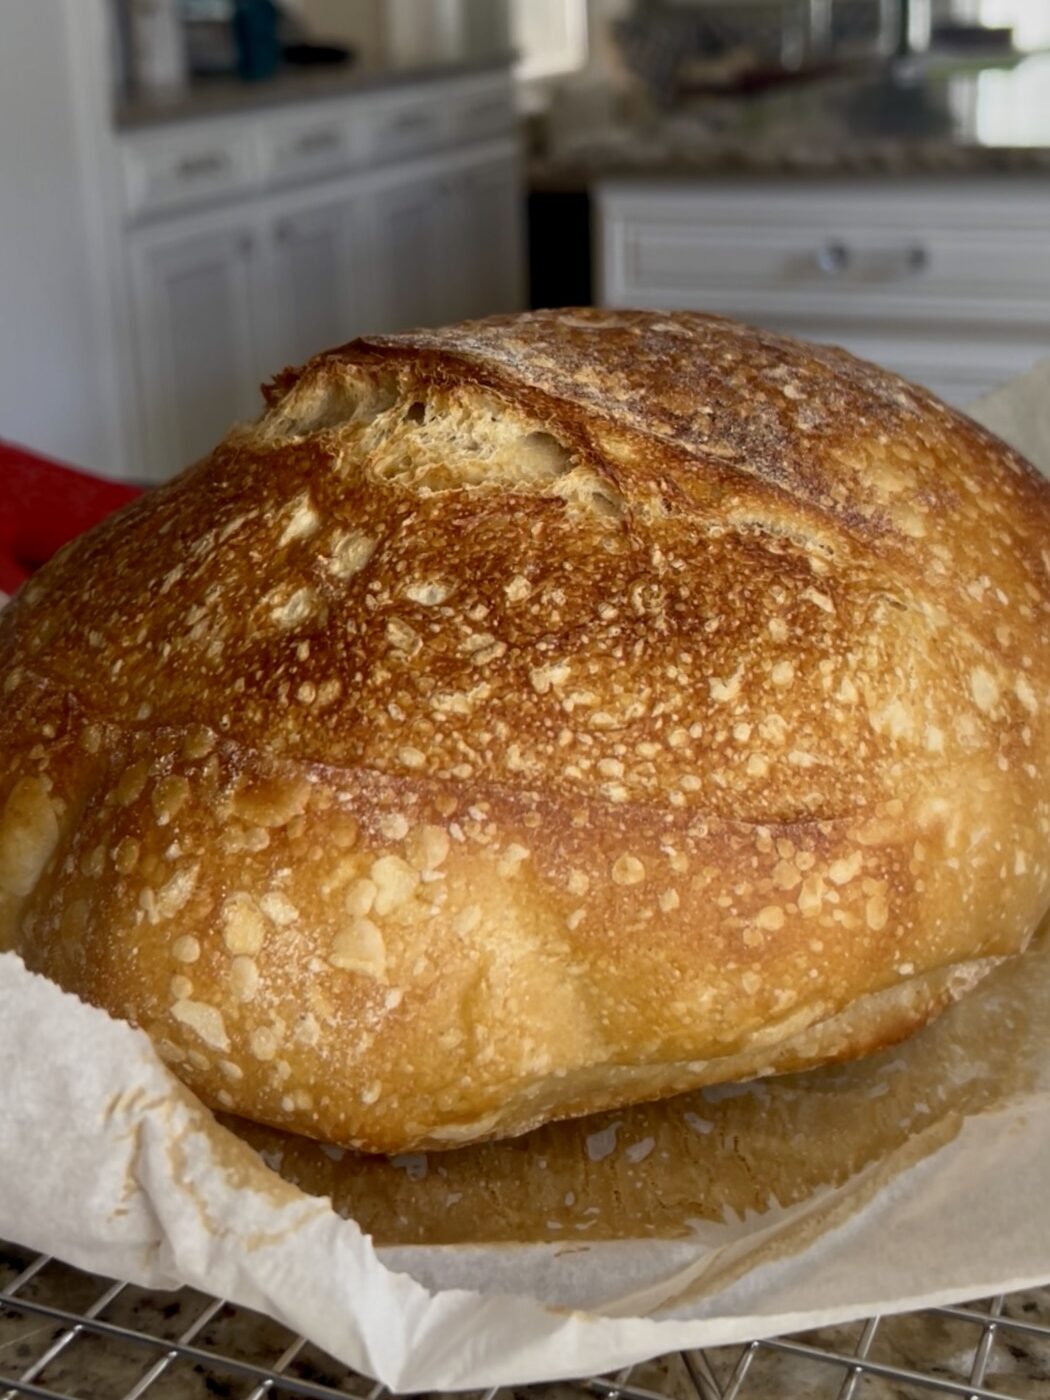
Some loaves will be tall and beautiful, with crusty edges and an airy crumb. Others might turn out a little flatter or denser than you hoped.
But even a less-than-perfect loaf gets eaten in my house (trust me, if nothing else, it makes incredible croutons).
There's something deeply satisfying about slowing down just enough to make bread from scratch. About mixing a few simple ingredients, letting nature do its thing, and pulling something wonderful out of your oven.
And when your kitchen smells like fresh bread, and your family is gathered around begging for a slice, that's what it's all about.
If you try this sourdough bread recipe, I'd love to hear how it turns out! Leave a comment and star rating below, and let me know if you have any questions.
And don't forget to save this recipe to Pinterest so you can come back to it whenever the sourdough craving strikes.
Happy baking! ❤️
Related recipes
Looking for something cozy to dunk your sourdough into? Try these:
- Spicy Turkey White Bean Chili with Kale
- Irish Beef Stew
- Slow Cooker Chicken Bacon Sweet Corn Chowder
Interested in other breads? Check these out:
Homemade Sourdough Bread (Dutch Oven Recipe)
- Prep Time: 5 mins
- Hands-off Time: 30 hours
- Cook Time: 40 mins
- Total Time: 31-48 hours
- Yield: 2 round loaves 1x
- Category: Side Dish, Snack
- Method: Baking, Oven
- Cuisine: American, Bread
Description
Make bakery-style sourdough bread at home! This beginner-friendly Dutch oven recipe makes two loaves with crispy crusts and soft, chewy centers.
Ingredients
- 454g ripe sourdough starter, stirred down (approximately 2 cups; 100% hydration)
- 602g all-purpose flour (approximately 5 cups)
- 85g 100% whole wheat flour (approximately ¾ cup)
- 400g warm water (approximately 1 ¾ cups)
- 11g kosher salt (approximately 2 ½ teaspoons, depending on brand)
Instructions
- Mix: Combine starter, water, flours, and salt until a soft, tacky dough forms.
- Rest: Transfer to a straight-sided container, cover, and rest for 30 minutes.
- Stretch and fold: Complete four or five sets of stretch-and-folds, approximately 30 minutes apart.
- Bulk ferment: Cover and allow the dough to rise until approximately 50% larger, bubbly, and slightly jiggly. Timing varies considerably with temperature and starter strength.
- Divide and shape: Turn onto a lightly floured surface, divide into two equal portions, and gently shape into rounds.
- Bench rest: Cover and rest for approximately 30 minutes.
- Final shaping: Tighten the rounds and place seam-side up in rice-floured, towel-lined bowls or bannetons.
- Cold proof: Cover and refrigerate until adequately proofed. A longer cold proof of up to approximately 24 hours may work, depending on fermentation and refrigerator temperature.
- Preheat: Preheat the oven and Dutch oven to 450°F (or a lower manufacturer-approved temperature) for approximately 30–45 minutes.
- Score: Invert one loaf onto heat-safe parchment or another safe transfer surface and score the top.
- Bake: Carefully transfer into the Dutch oven. Cover and bake at 450°F for 20 minutes. Remove the lid, reduce heat to 400°F, and bake for another 15–20 minutes until deeply golden and fully baked.
- Cool: Transfer to a wire rack and cool for at least one hour before slicing. Repeat with the second loaf.
Notes
Starter: Use a strong, ripe starter at 100% hydration.
Timing: Fermentation is temperature-dependent. Do not wait the full eight to ten hours if your dough is ready sooner.
Flour: Bread flour can be substituted for all-purpose flour, although hydration and texture may change.
Storage: Store at room temperature for approximately three days or freeze for longer storage.
Dutch oven: Always follow your equipment manufacturer's maximum temperature and preheating instructions.
Make ahead: Use an overnight refrigerated proof for greater scheduling flexibility.




Share Your Thoughts