
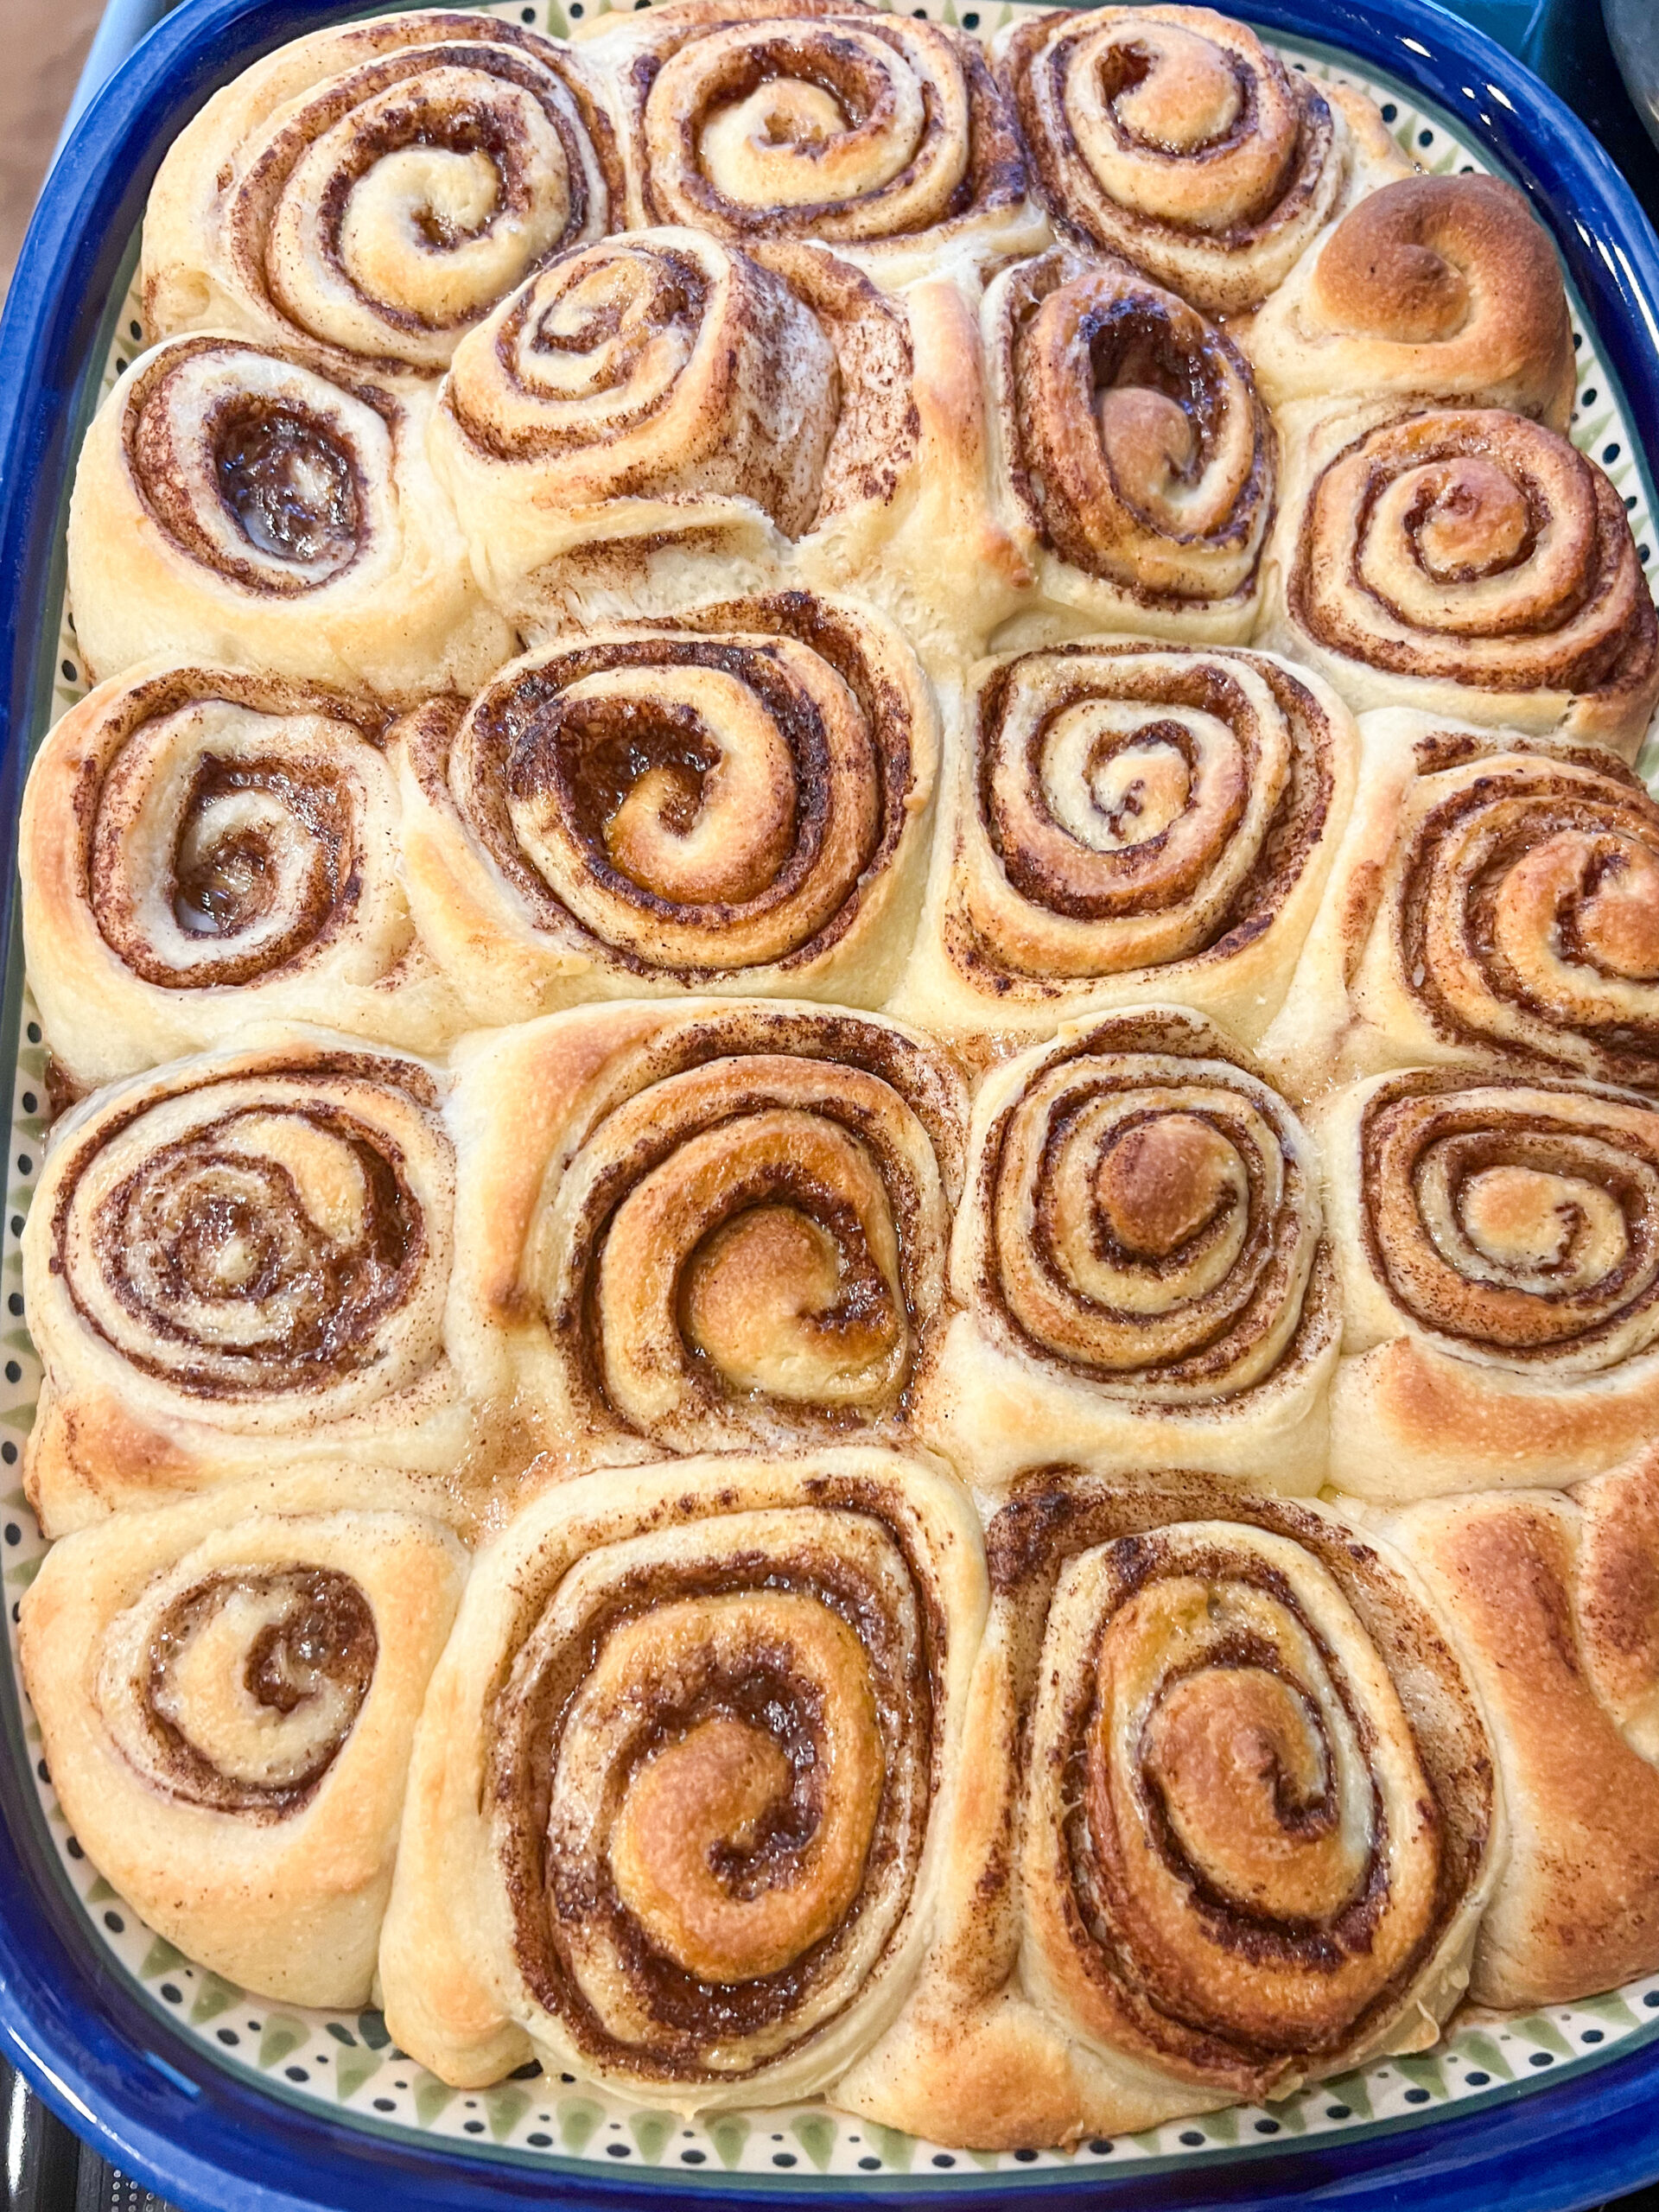
No-knead, easy homemade cinnamon rolls are the perfect addition to your brunch spread. Ooey-gooey cinnamon-sugar filling meets a decadent maple brown sugar icing that melts into each layer
Growing up, while my friends flocked to Cinnabon at the mall, my mom insisted on making cinnamon rolls from scratch. I didn’t realize how lucky I was (because Cinnabon was “cool”), but now, I fully understand the magic of homemade, and I’m keeping her sweet, sticky tradition alive with my own easy, no-knead version that’s earned me more friends than I can count.
Honest to Betsy, these are the best cinnamon rolls ever (or “Cinnamon Buns,” as my husband lovingly calls them). Sure, swinging by Duffeyroll Bakery is faster (is that just a Colorado thing?), but these are a labor of love. You’ll have co-workers, acquaintances, and family members lining up to get their hands on these gooey, cinnamon-filled, fluffy little icing-covered pillows. Even my six-year-old asks for them regularly, and I can deny him.
Even if cinnamon rolls seem intimidating, they don’t have to be fussy. These easy cinnamon rolls are perfect for slow weekends, post-sleepover breakfast, holiday mornings, or cozy afternoons with a hot cup of coffee.
Why these cinnamon rolls work
I love these cinnamon rolls because they’re:
- Easy to make—No kneading, no dough hook, and no stand mixer required.
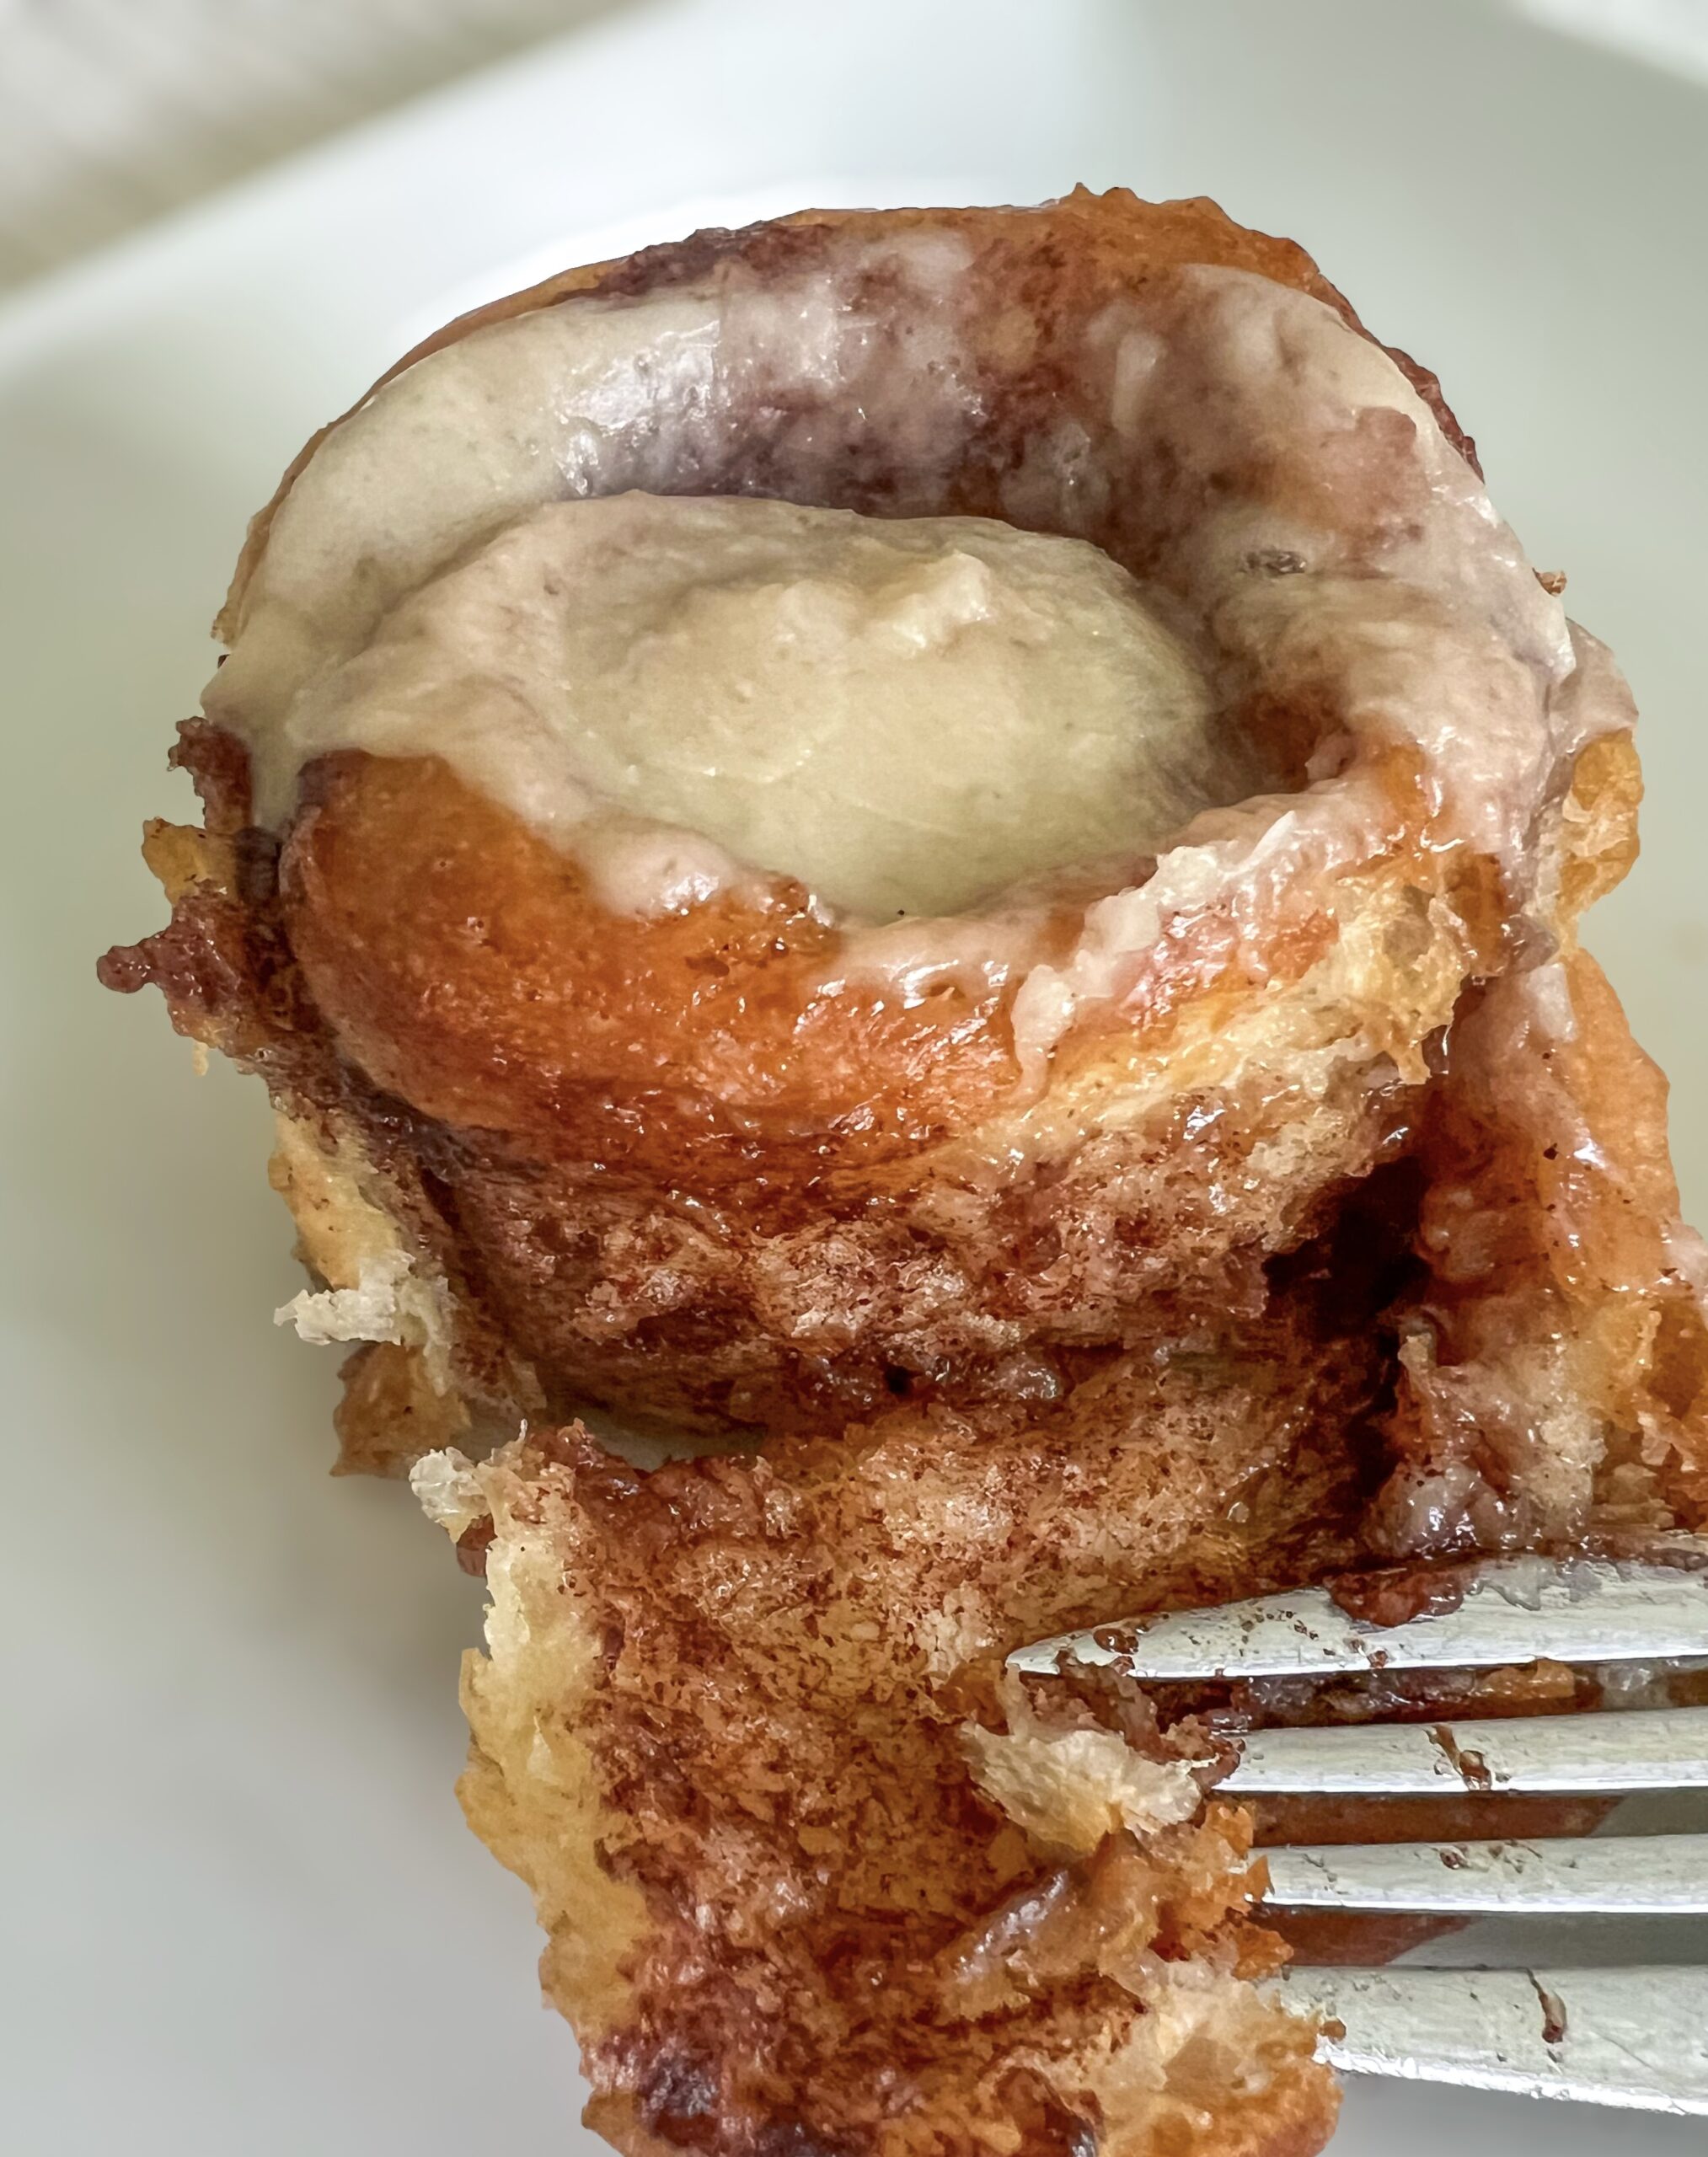
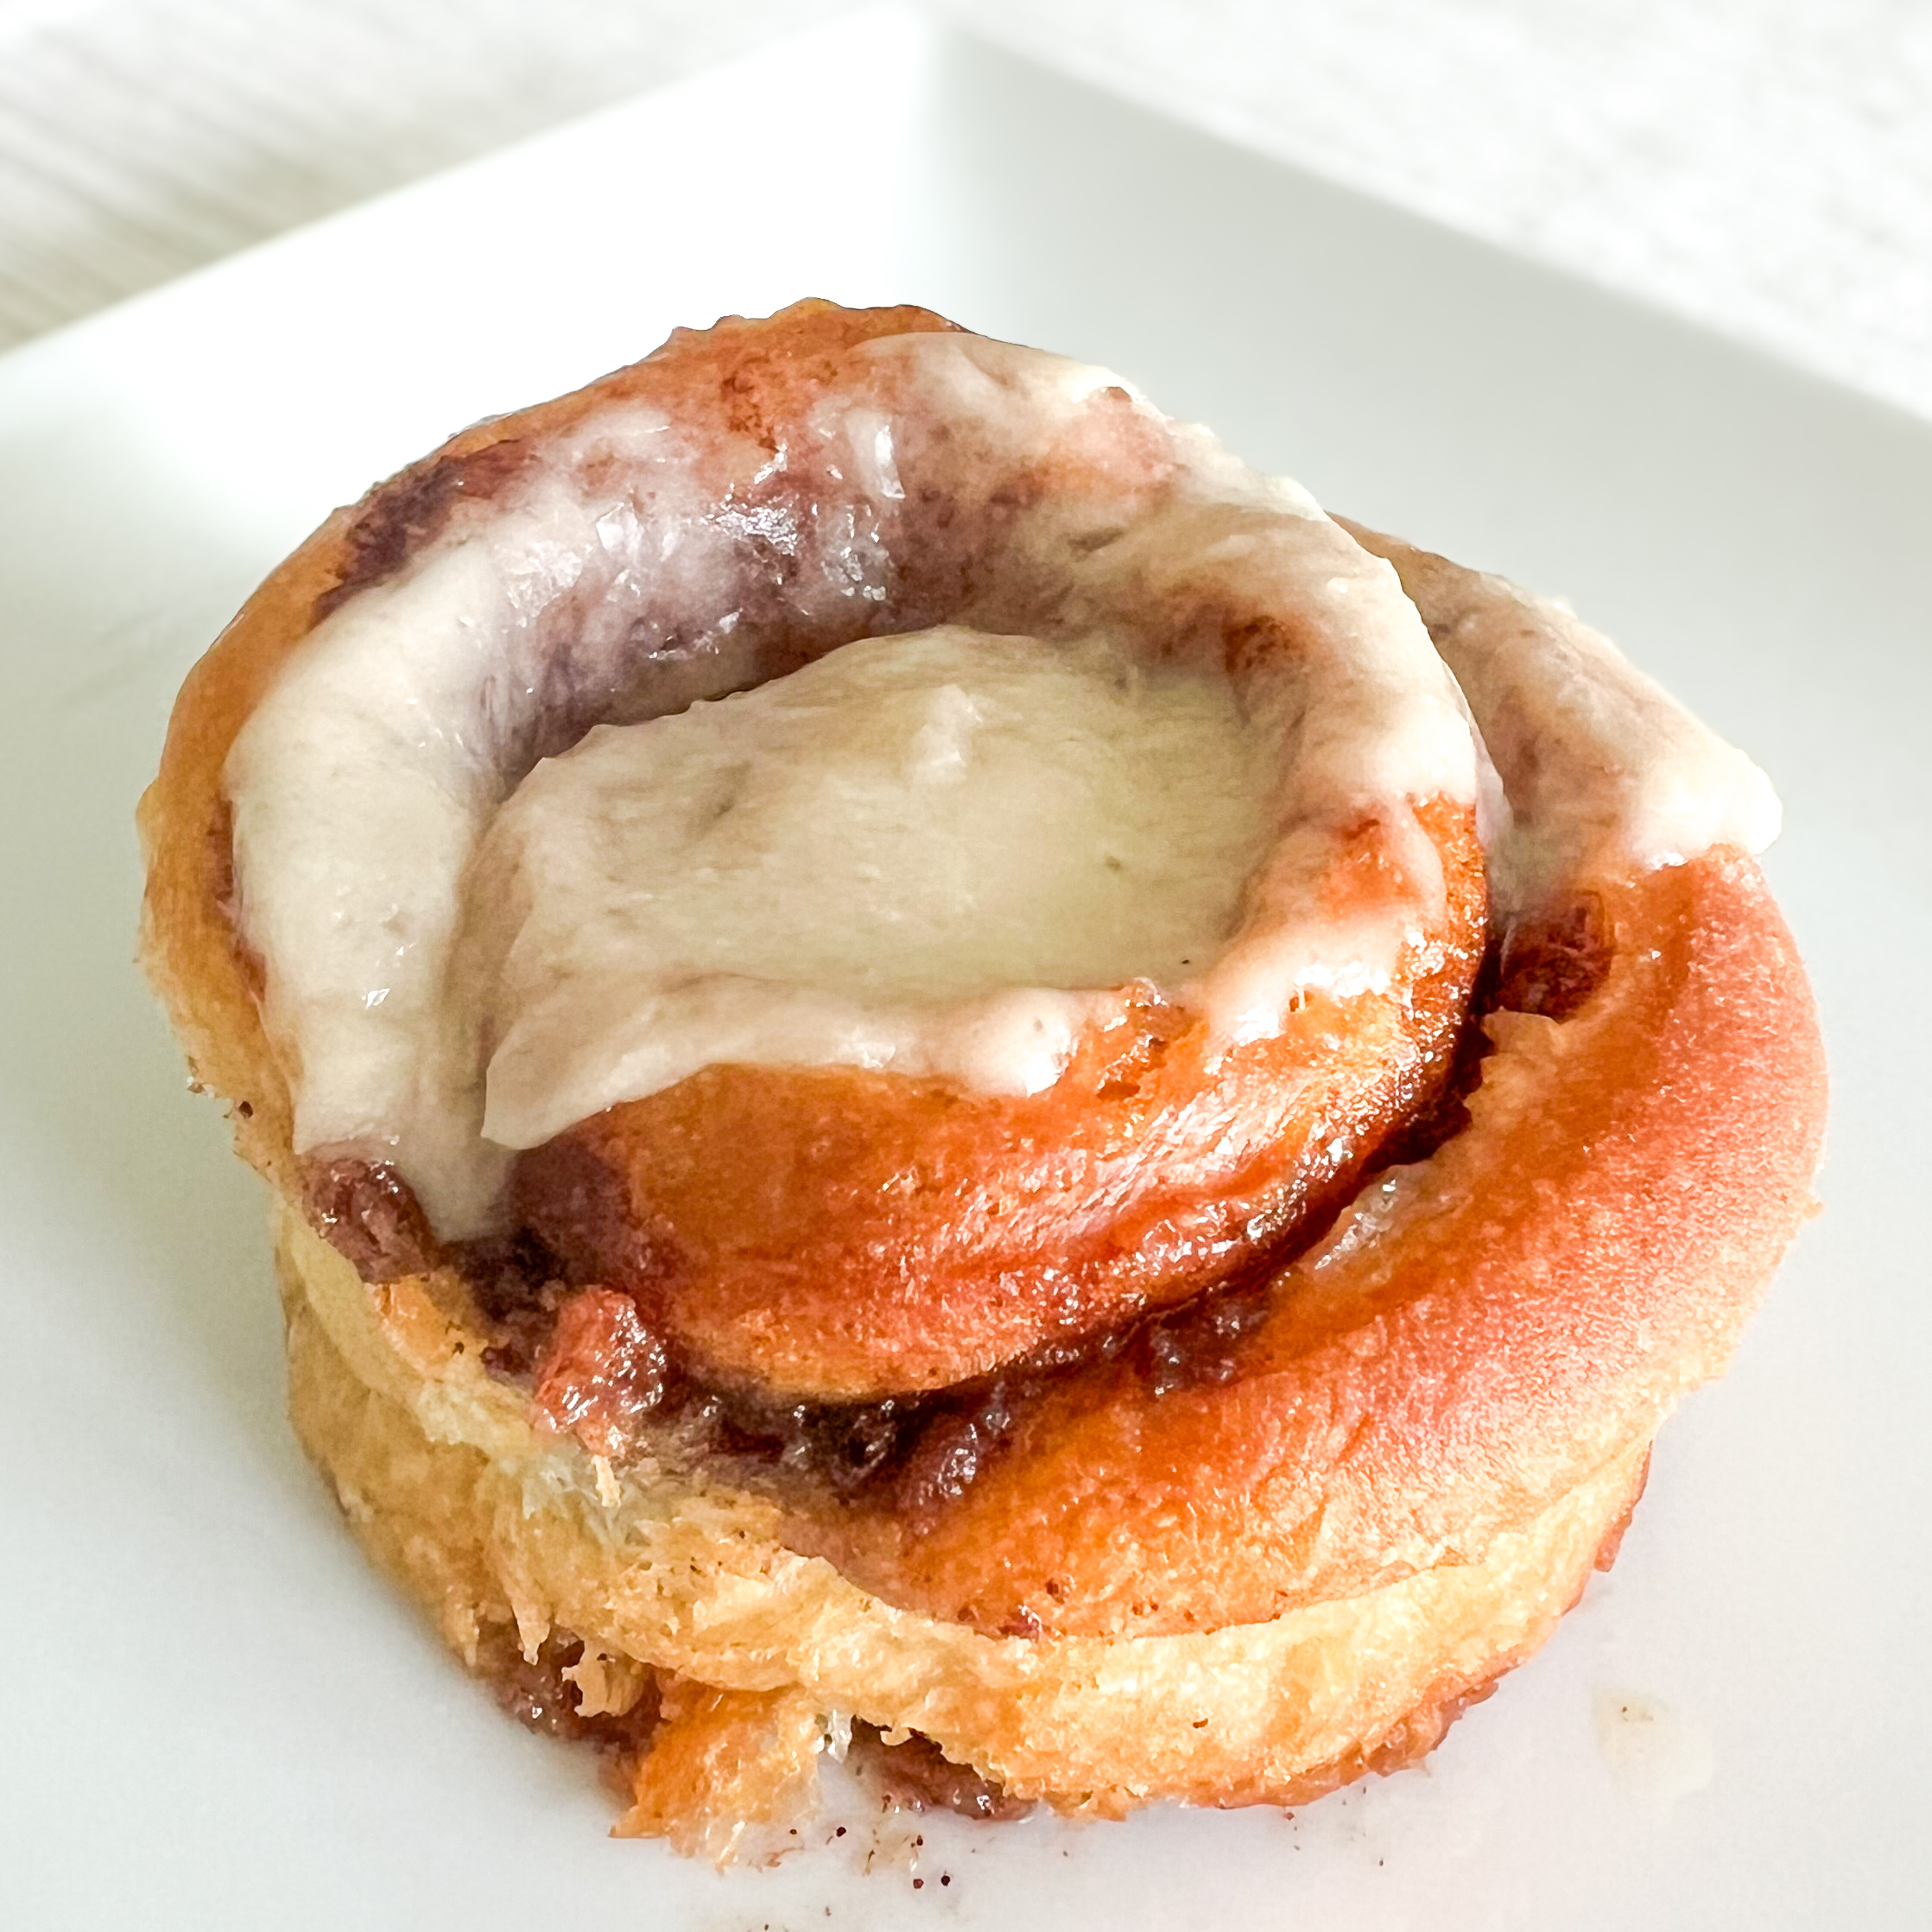
- Ooey-gooey and irresistible—With the maple brown sugar icing dripping down every bite, you’ll be sure to have friends asking for the recipe.
- Flexible—These rolls require a minimal rise time, plus the option to make them all in one morning or stretch the process out over a few days, so you can fit them into even your busiest weekend schedule.
- Make-ahead—These freeze beautifully, before or after baking.
How to make the best cinnamon rolls
This is an overview of how to make homemade cinnamon rolls. See the recipe card below for detailed ingredients and instructions.
1. Make the Dough
Using your microwave or stove in a medium saucepan, heat the milk, vegetable oil, and sugar over medium heat until it’s warm to the touch (about 110°F / 43°C, no higher—make sure NOT to boil the mixture). Take it off the heat and then sprinkle the yeast on top so it gets warm and happy.
- 💡 The “sponge,” or mixture of warm milk, sugar, and yeast, is ready when the yeast begins to foam.
In a large mixing bowl, combine the dry ingredients (flour, salt, baking soda, and baking powder). Add in the warm milk mixture and mix until a dough forms. Cover with a clean dish towel and let the dough rise for one hour, or overnight in the refrigerator.
- 💡 Punching the risen dough will release trapped carbon dioxide and make the dough easier to roll out.
2. Mix the Filling
While the cinnamon roll dough rises, mix together melted butter, brown sugar, cinnamon, nutmeg, and allspice.
3. Roll, Fill, and Slice
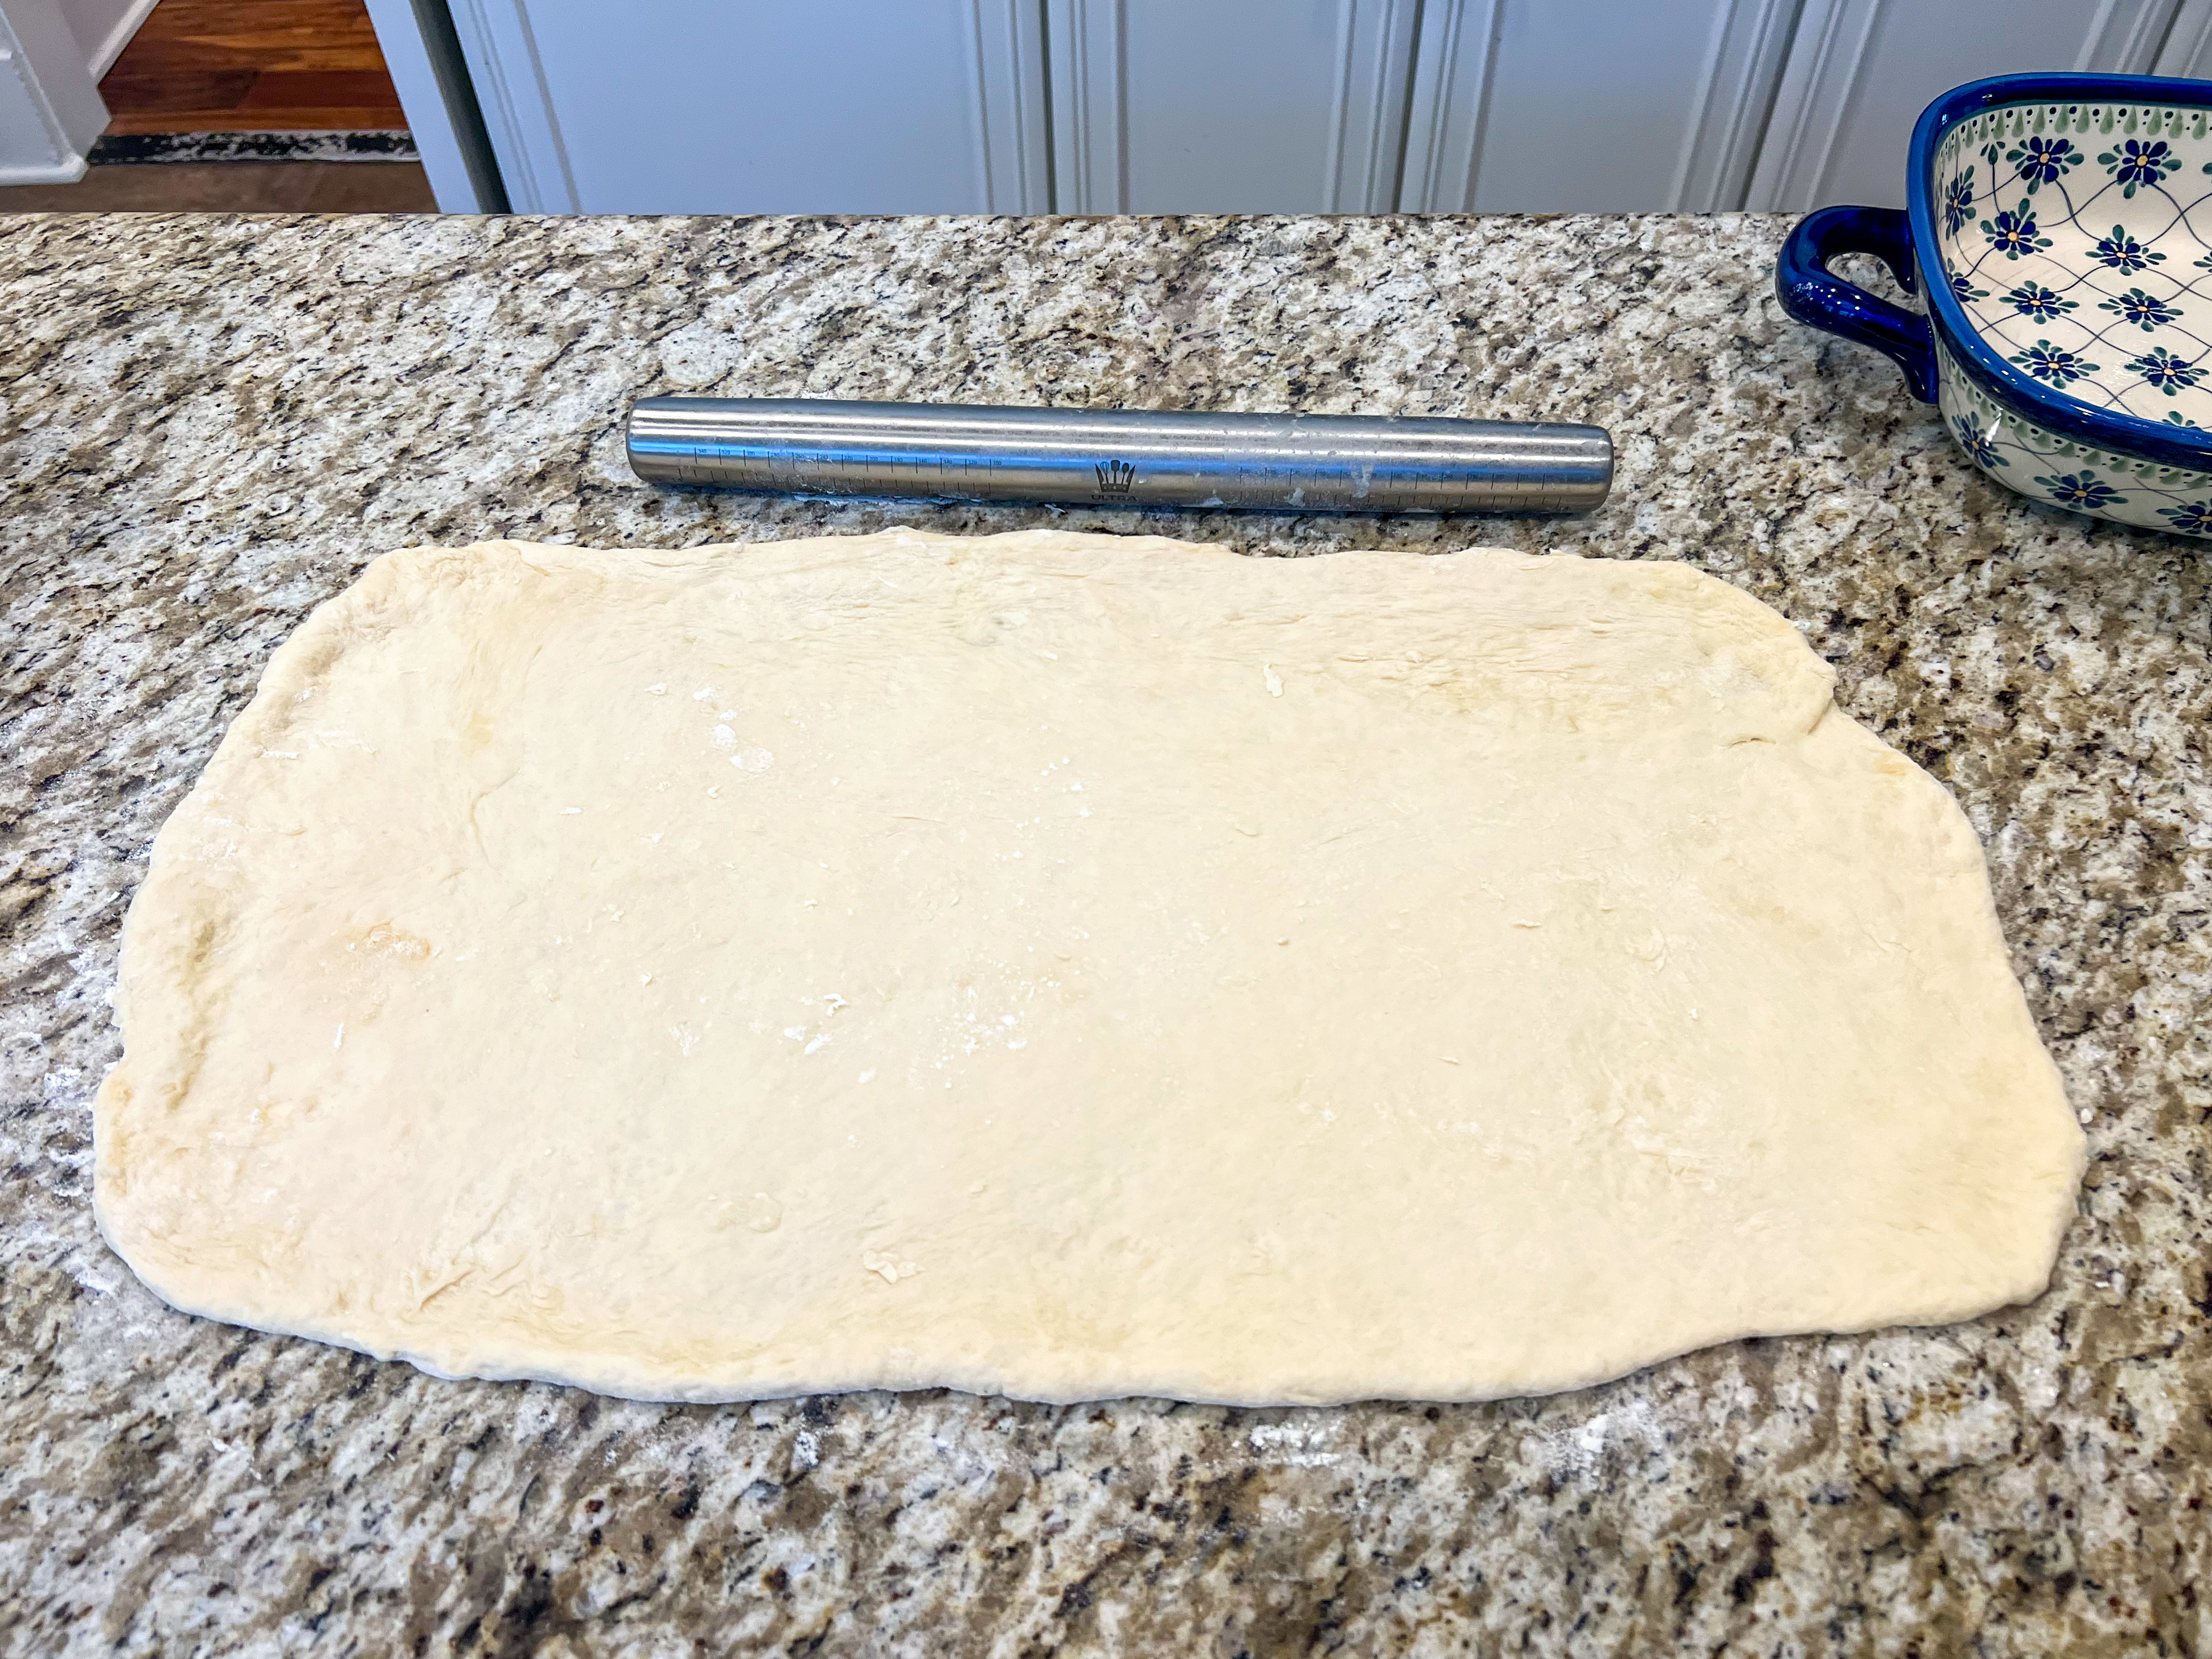
Use a rolling pin to roll the dough out on a lightly floured surface into a large rectangle (about 16x12 inches).
- 💡 If the dough is too dry, add a tablespoon of milk. Too sticky? Sprinkle in a little flour. However, only use as much flour as you need. If you use too much flour, your rolls will be tough.
Spread the cinnamon filling evenly over the dough, going right to the edges.
Roll the dough tightly from the long edge. Slice into about 20 equal pieces using a sharp knife or unflavored dental floss (trust me on this one).
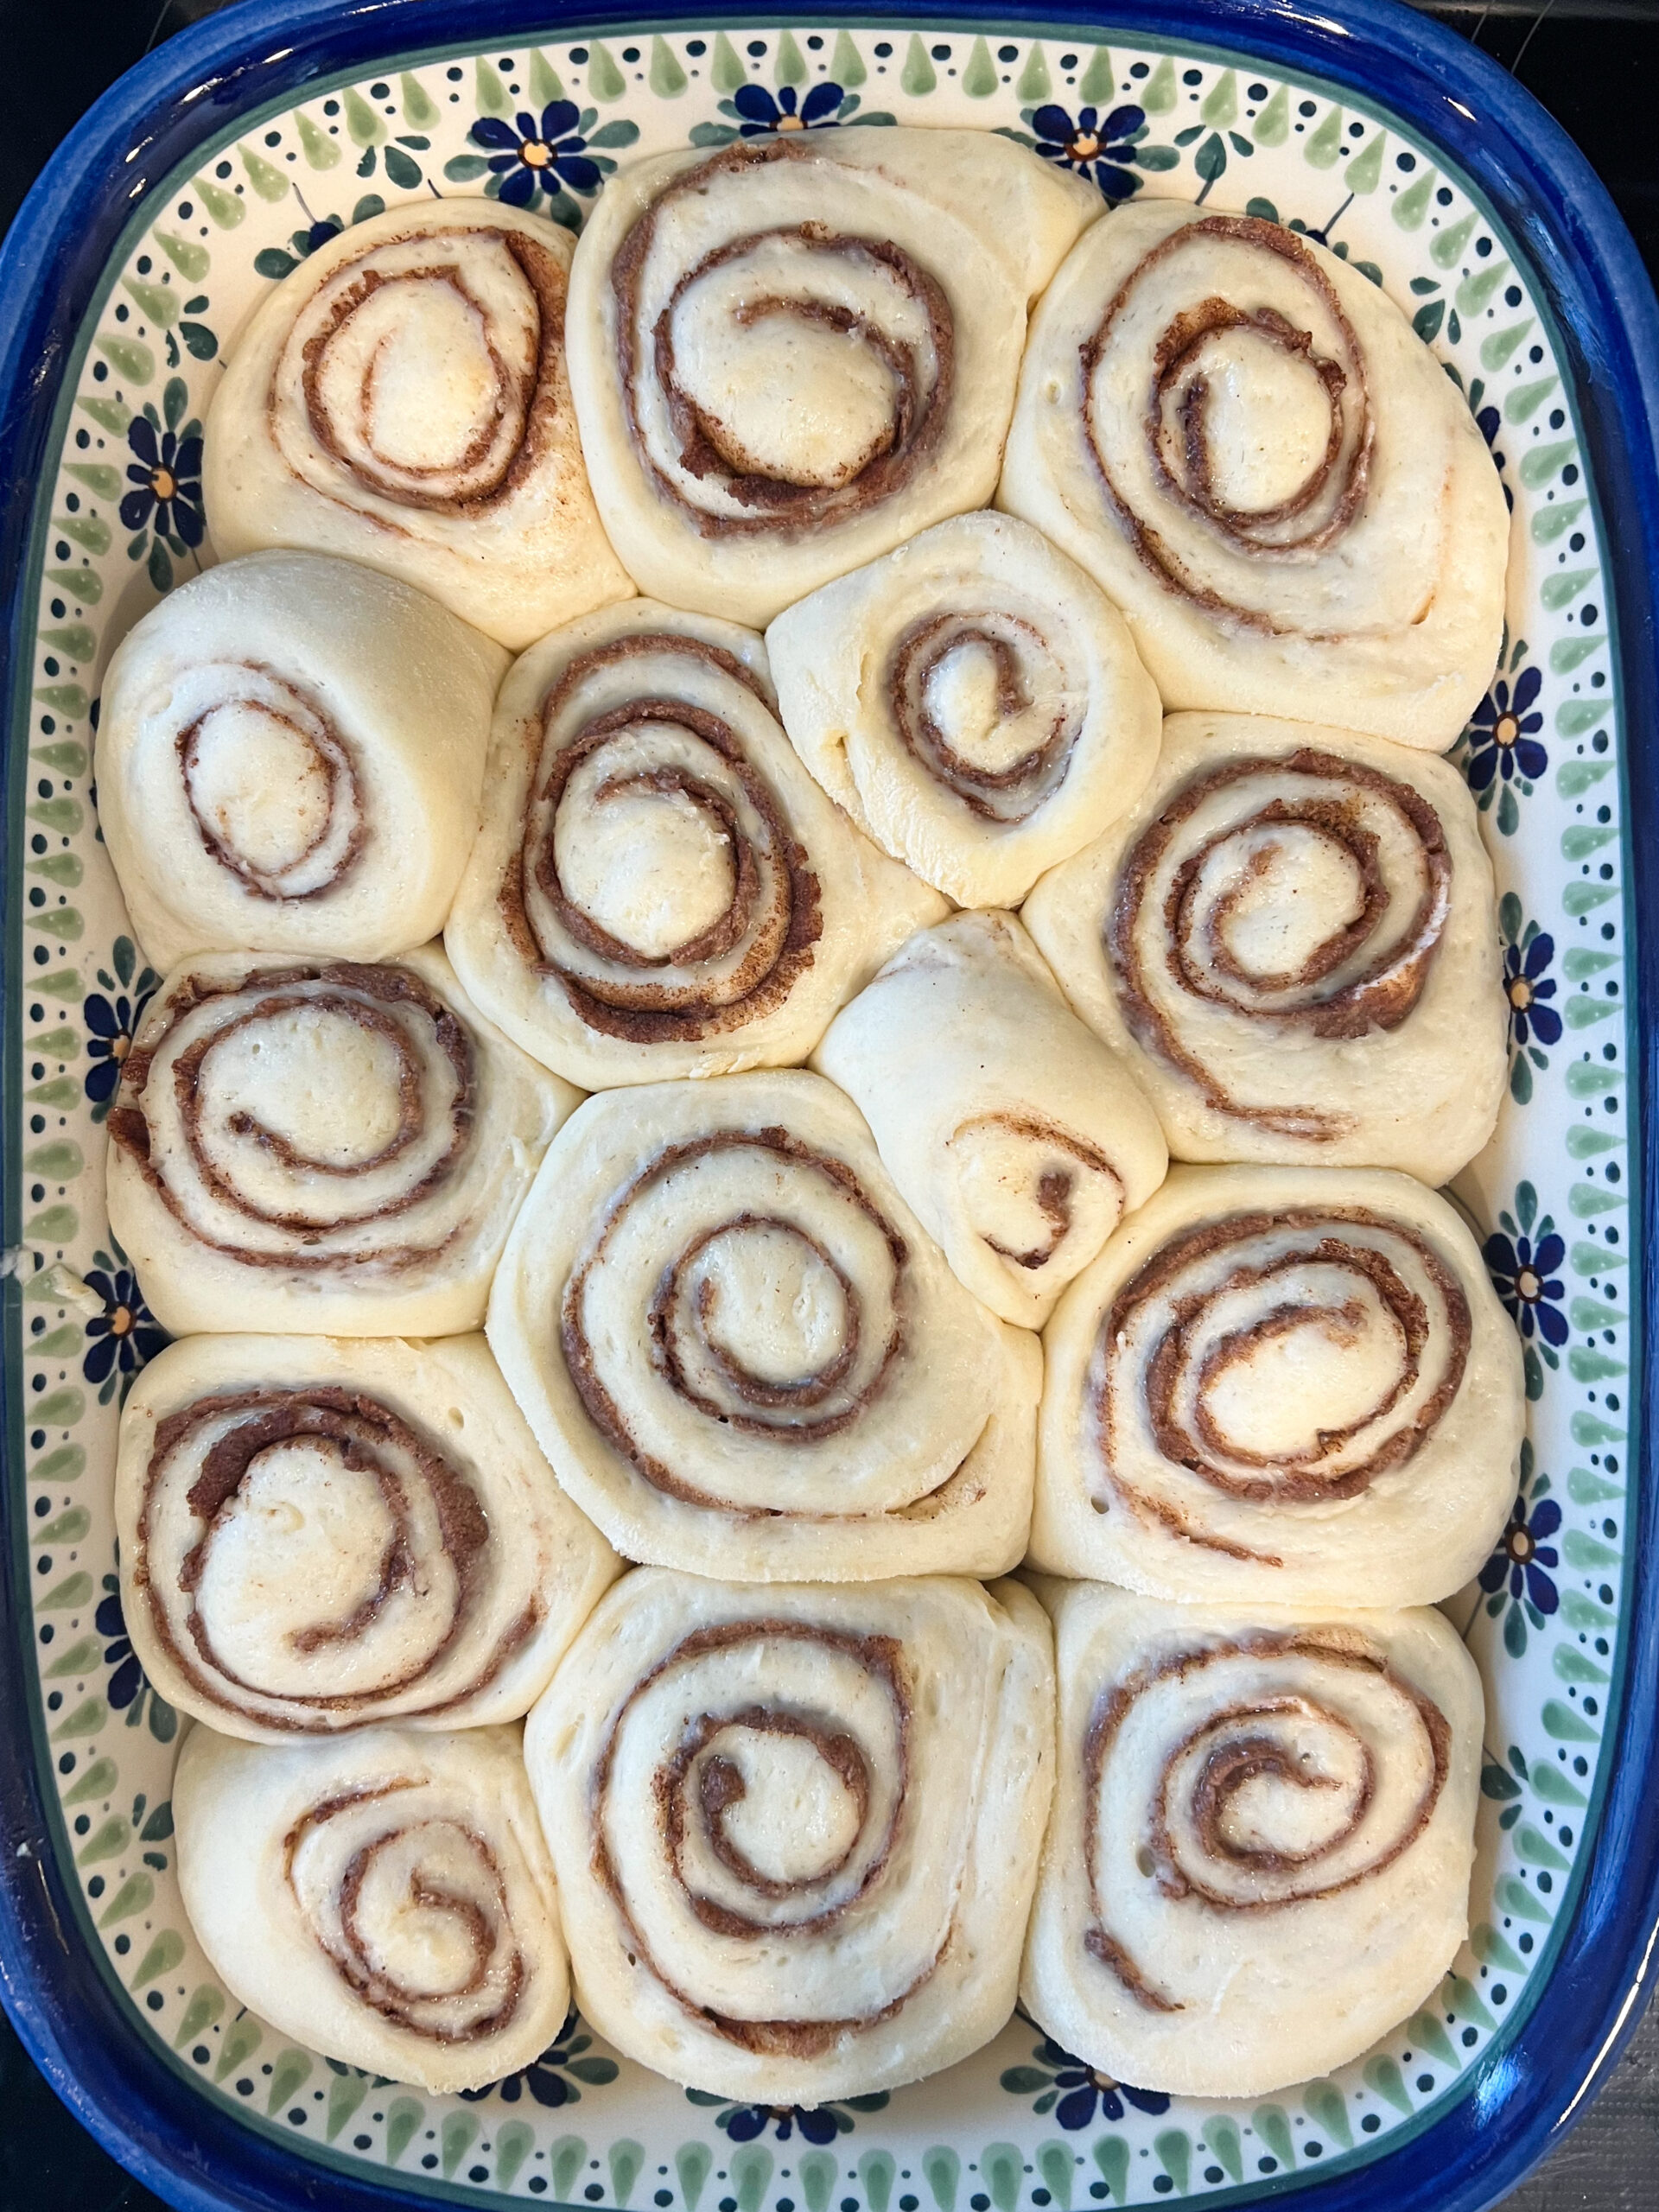
Place rolls in a buttered 9x13-inch pan. Cover and let rise again for about 20-30 minutes. You want the rolls to be puffy before going into the oven, which will give you soft, fluffy cinnamon rolls.
- 💡 Leaving the rolls out on the counter for a second rise, or “proof,” for 20-30 minutes before baking will maximize their baked volume.
4. Bake
Preheat oven to 350°F /175°C. Bake cinnamon rolls for 25-30 minutes, or until golden brown on top.
- 💡 Don’t overbake — we want them soft and gooey, not tough and crunchy!
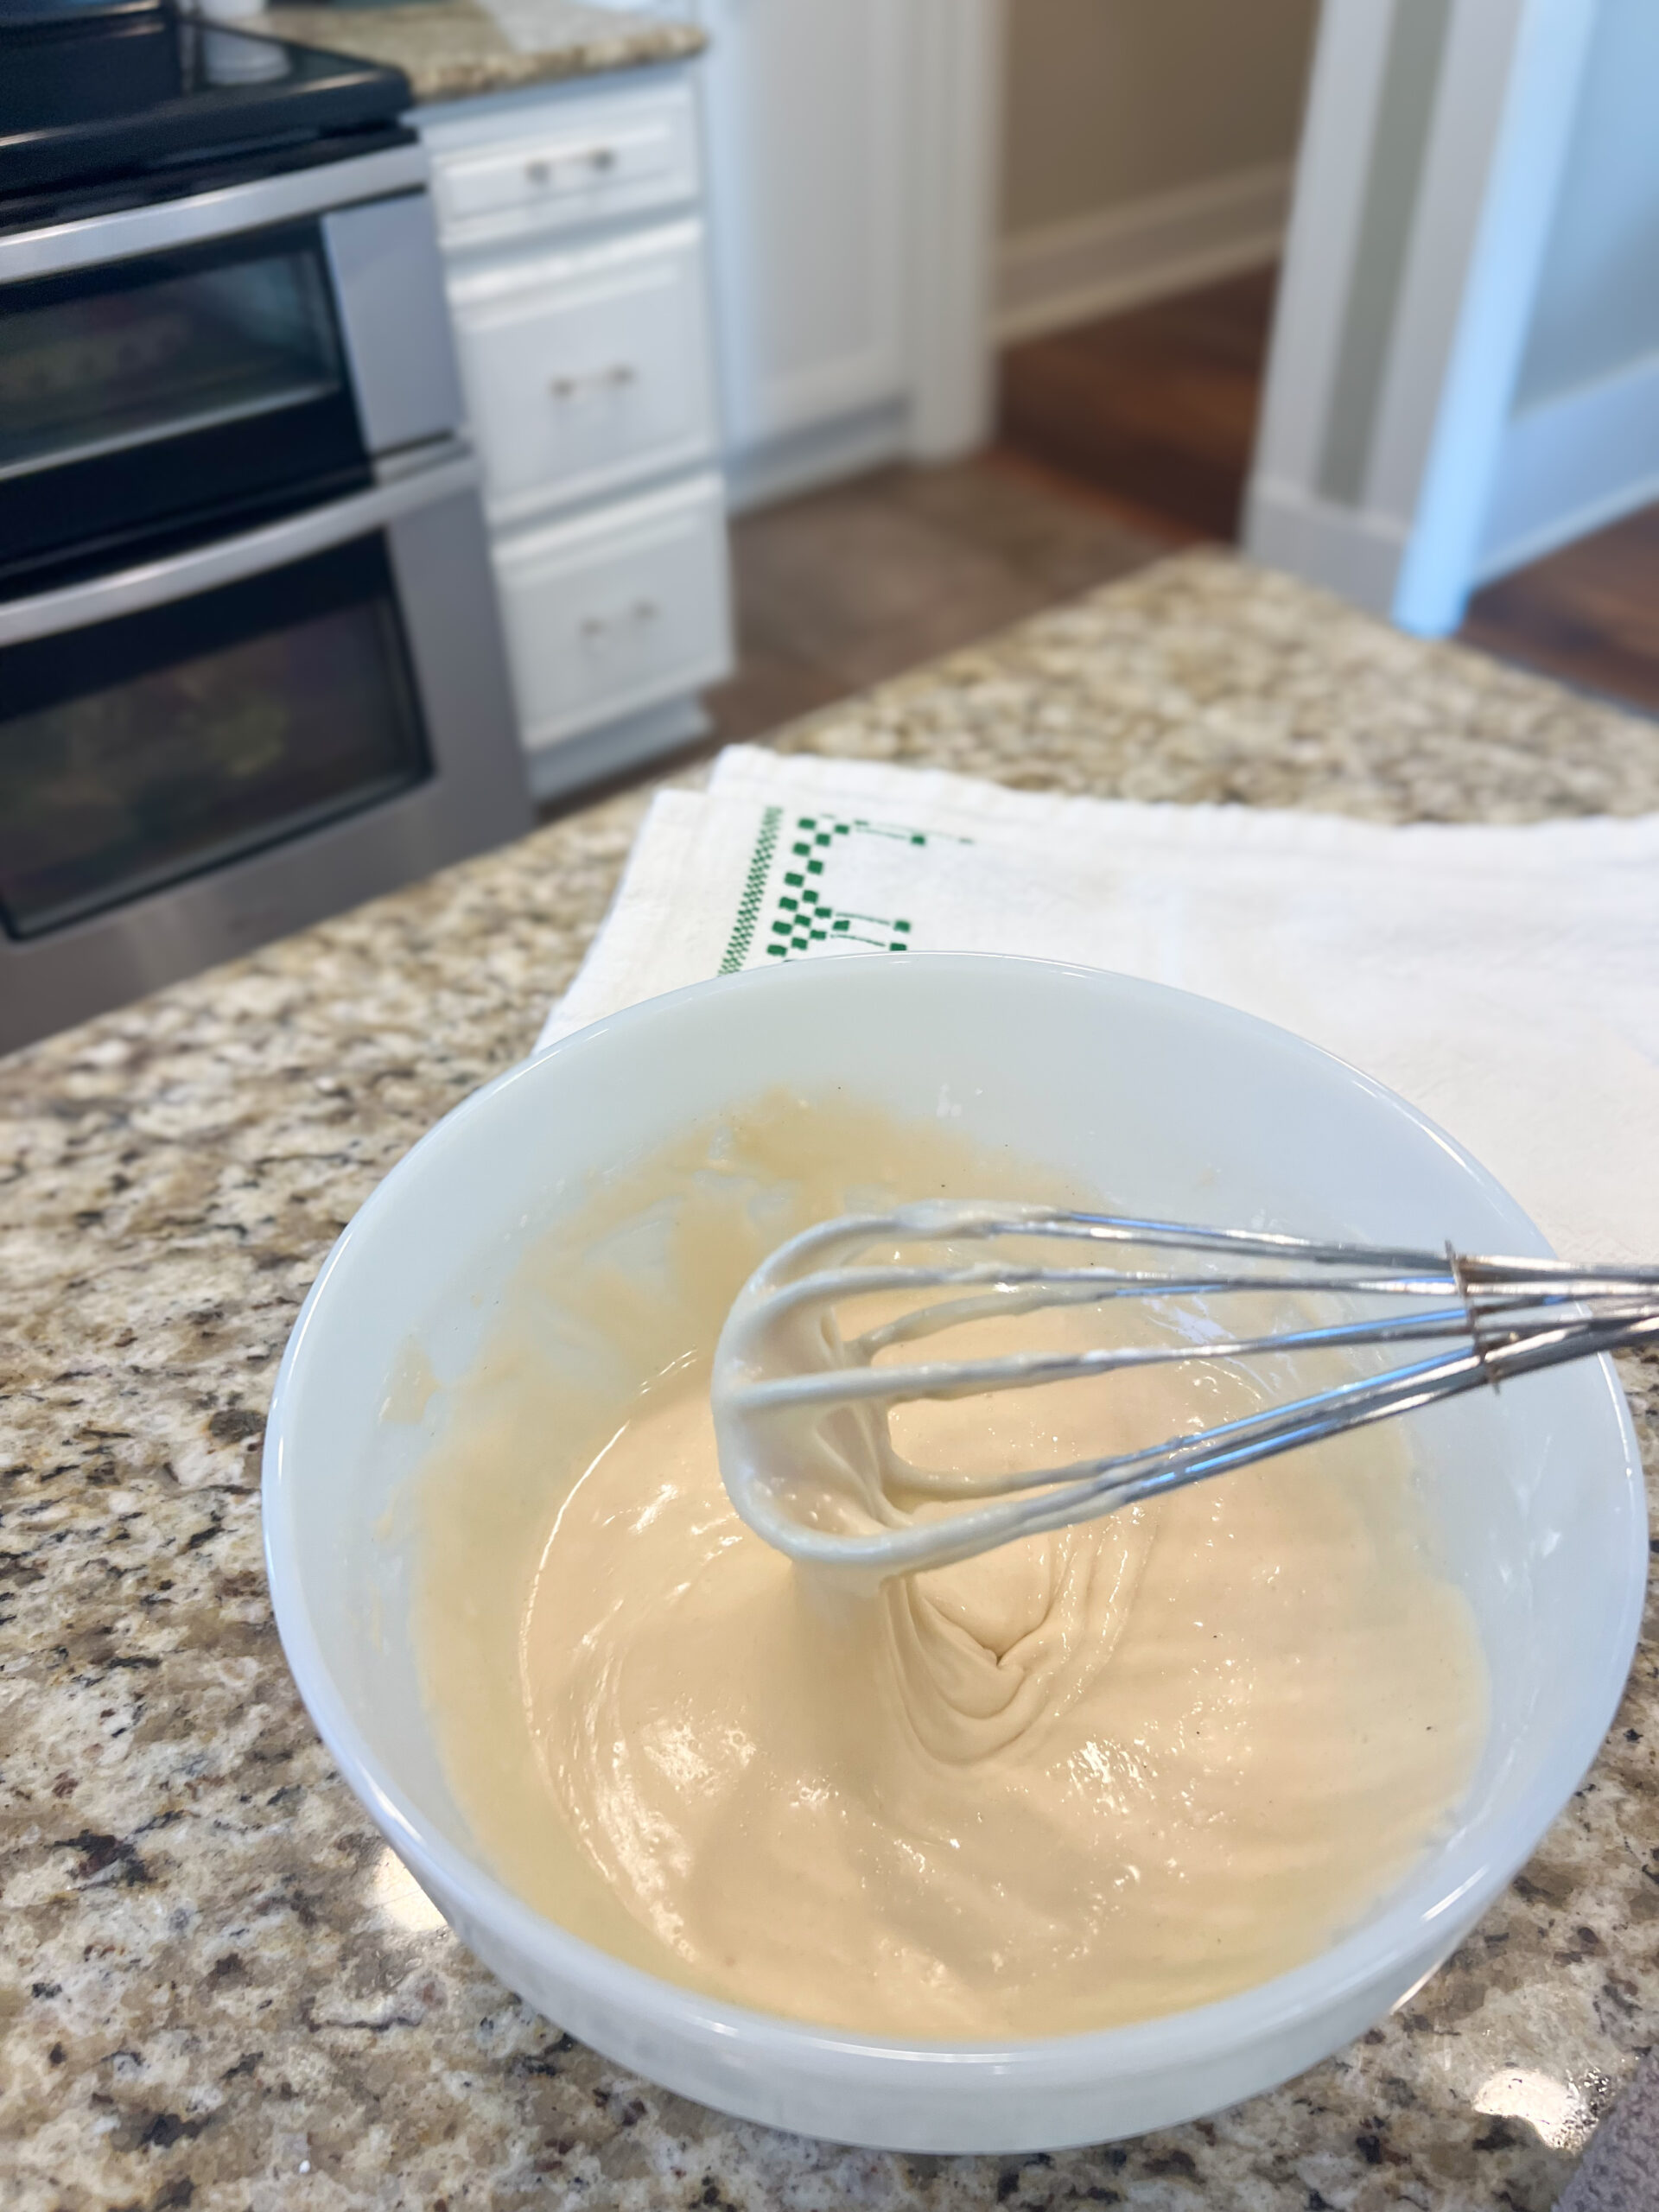
5. Make the Maple Brown Sugar Icing
In a large bowl, whisk together the powdered sugar, milk, butter, vanilla, maple flavoring, and salt. Whisk it until it’s very smooth. Taste it (yum!) and add more maple, sugar, or butter as needed until it tastes just right and the consistency is thick and pourable.
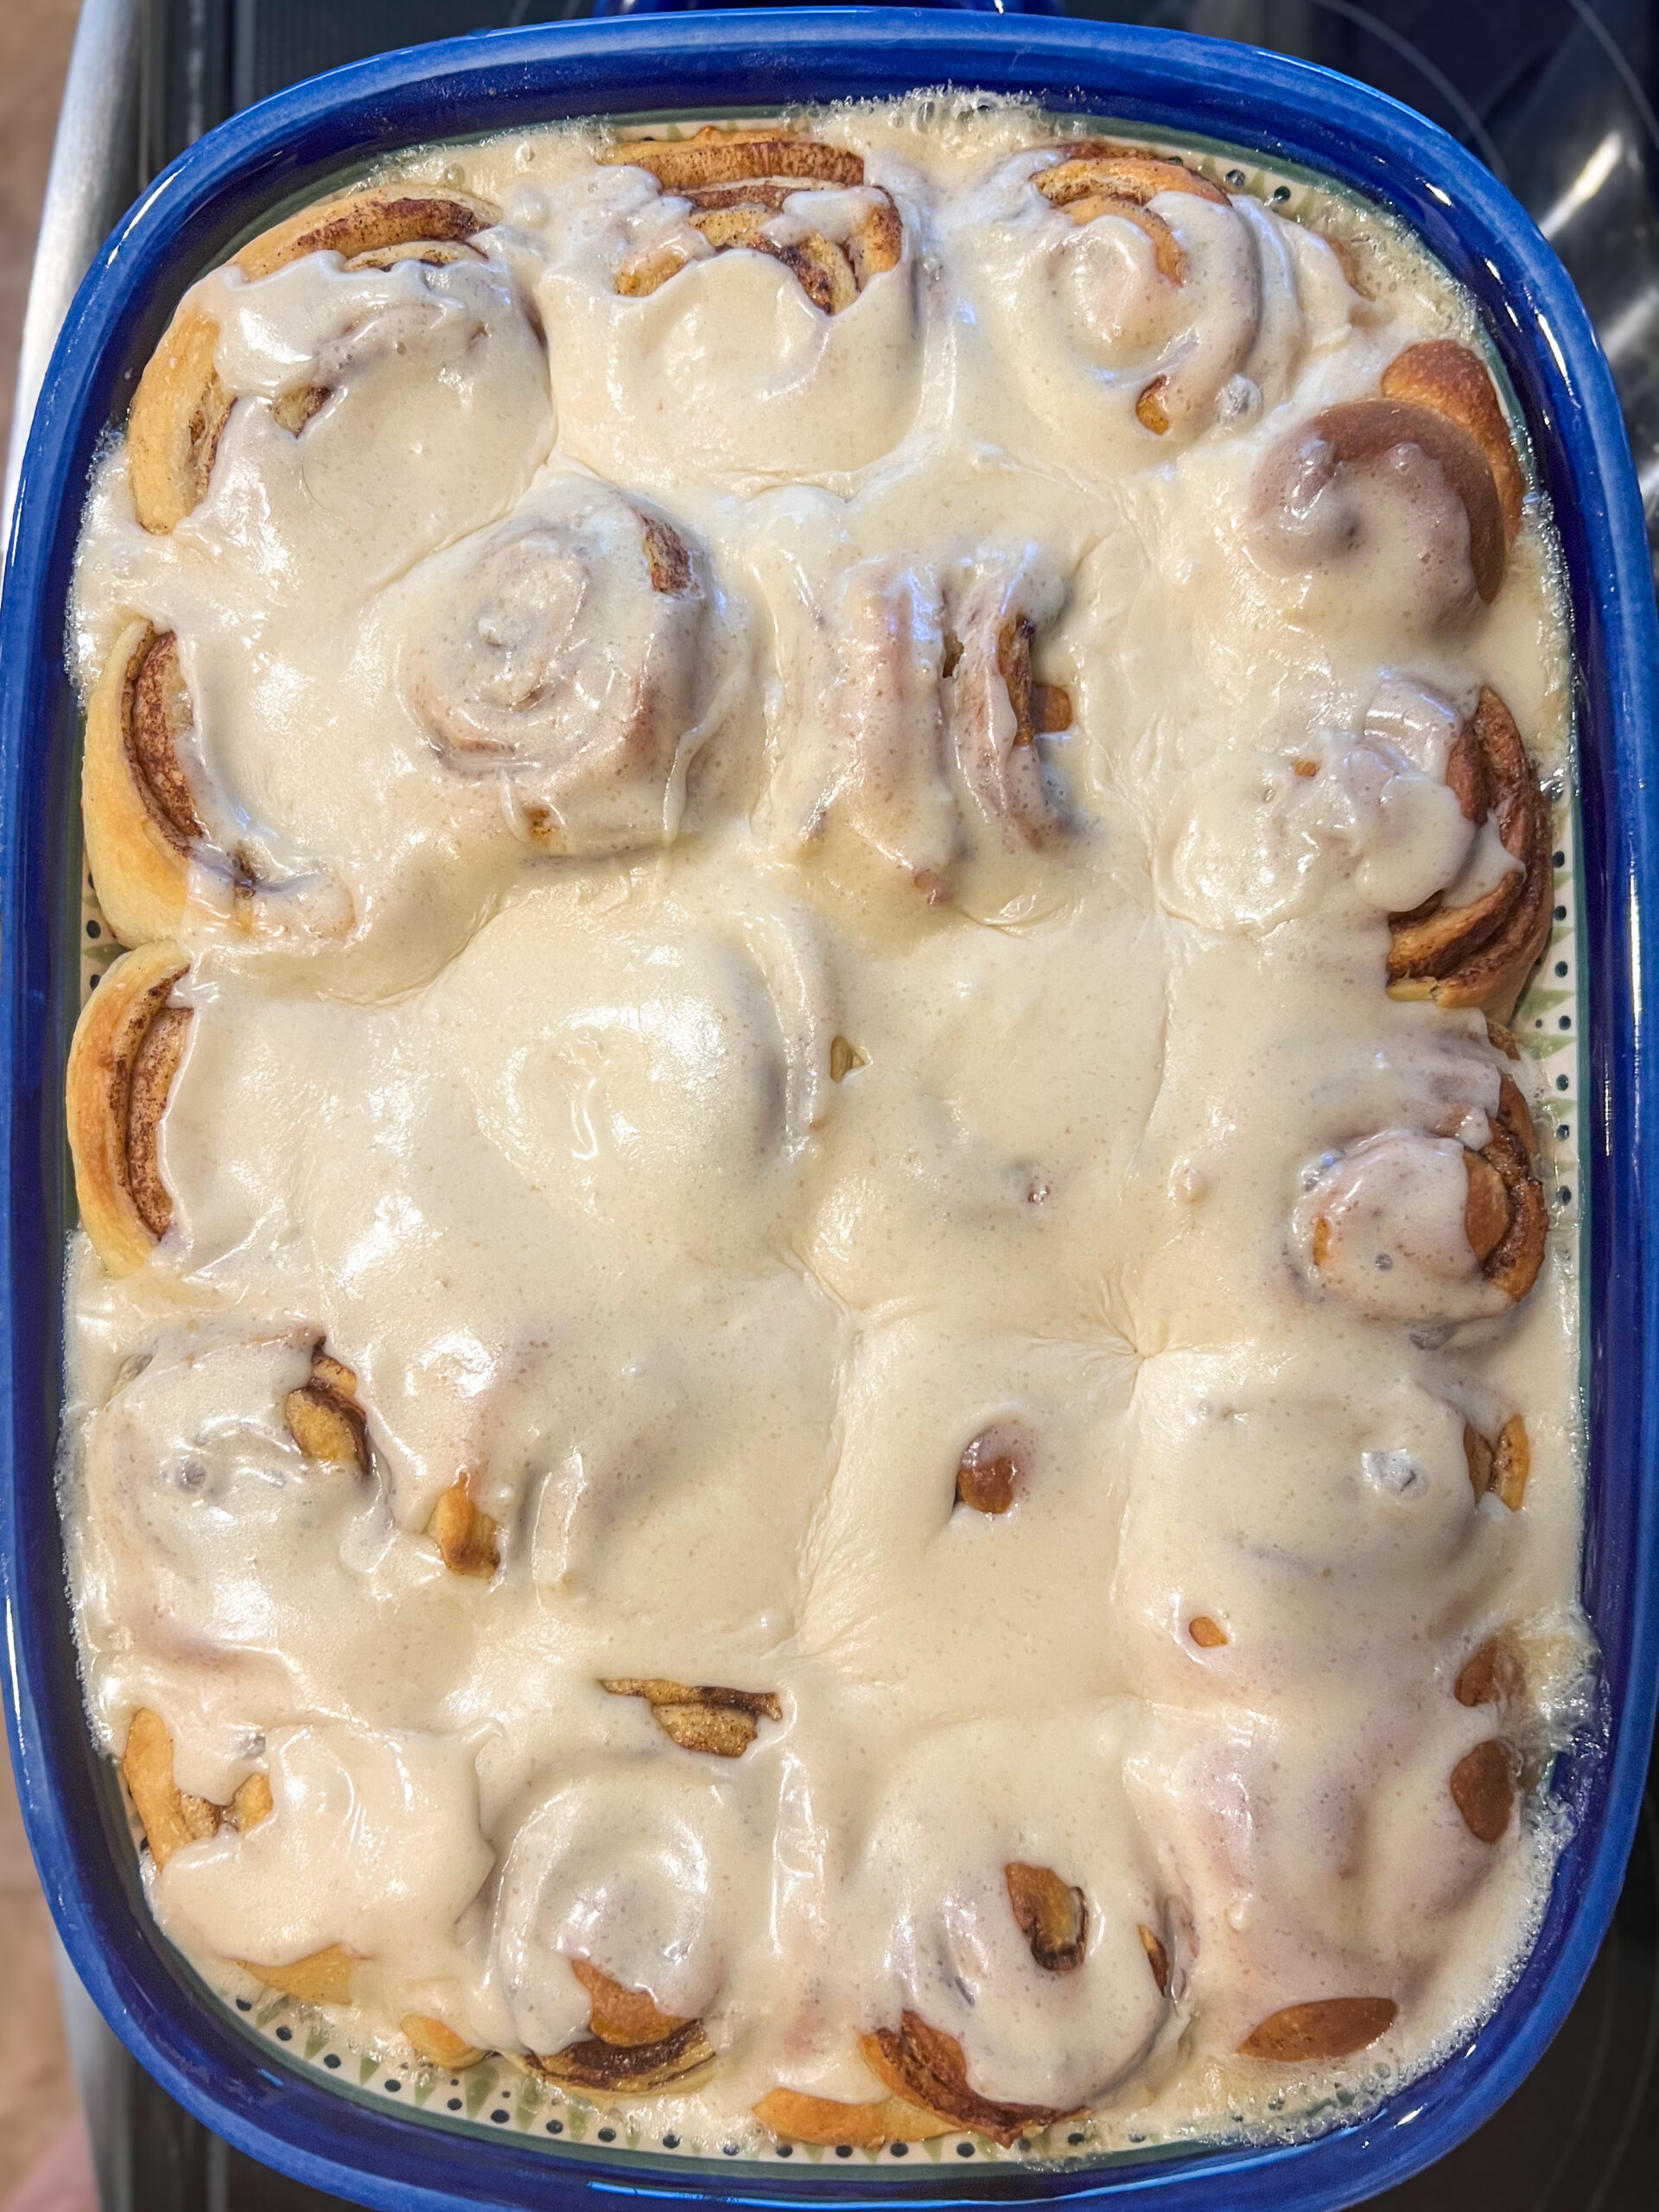
Pour the icing over the just-from-the-oven cinnamon rolls. Don’t be shy! By icing the warm rolls, you can make sure it gets into ALLLLL the nooks and crannies and saturates the rolls with the maple-brown sugar flavoring.
Frequently asked questions
These cinnamon rolls keep fresh at room temperature for 3-4 days. Simply cover with plastic wrap or aluminum foil.
Yes, you can freeze cinnamon rolls, whether they are baked or unbaked. To freeze them baked, let them cool to room temperature and place them in a plastic freezer bag (unfrosted). Simply reheat them in a pan and make the icing fresh. To freeze them unbaked, place the sliced rolls on a parchment-lined baking sheet (separated by an inch or so) and put them in the freezer until solid, then you can toss them together in a plastic freezer bag. Let them thaw overnight and bake them as directed.
If you prefer a cream cheese situation to top your rolls, simply use a hand mixer or a stand mixer with a paddle attachment to whip together 4 ounces of room-temperature cream cheese, 1 stick (½ cup) unsalted room temperature butter, 3 cups of powdered sugar, 2-3 Tablespoons of milk, 1 teaspoon of vanilla extract, and a pinch of kosher salt, and you’ll be in cream cheese frosting heaven.
Yes! Just bloom the active dry yeast (let it get nice and foamy) in the warm milk with the sugar and vegetable oil first. Let it sit 5-10 minutes, then proceed with the rest of the recipe as directed.
I like to use all-purpose flour in my cinnamon rolls because it works well in this recipe and is widely available, but if you want extra chewy, bakery-style rolls, use bread flour.
You can use maple extract in place of the maple syrup, or leave it out completely for a more traditional icing.
Yes, just use an 8x8-inch pan and cut all the ingredients in half.
Yes, if you want to wake up to fresh, hot, homemade cinnamon rolls but don’t feel like getting up at the crack of dawn, you can make these the night before. After slicing the rolls and placing them in the pan, cover tightly with plastic wrap and refrigerate overnight. The next morning, let them sit at room temperature for 30-45 minutes before baking. You can also freeze them (unbaked or baked) and thaw overnight.
If you’re reheating the whole pan, simply cover it with aluminum foil and place it in a 350ºF oven for 15 minutes to warm through. If you’re reheating single servings, place a roll on a microwave-safe plate and microwave for 30 seconds to 1 minute, until it’s your preferred temperature.
These cinnamon rolls are great on their own with a cup of hot coffee, but if you’re entertaining, I’d suggest serving them with something fresh, like this summer fruit salad, and something salty, like crisp bacon or sausage patties.
Variations + Substitutions
- If you don’t have whole milk, you can use 2% milk, almond milk, or oat milk instead.
- Swap the maple-brown sugar icing for a tangy cream cheese frosting instead.
- Sub in bread flour for the all-purpose flour if you want your cinnabuns to have a chewier texture.
- Make It Yours: Cinnamon Roll Remix Ideas
- Add-ins: Toss in chopped pecans, walnuts, or even mini chocolate chips before rolling.
- Apple pie vibes: Layer finely chopped apples over the cinnamon filling before rolling the dough for a fall-inspired treat.
- Boozy icing: Stir a splash of bourbon or spiced rum into the icing for an adult twist.
Special diets
If you have a special diet you're adhering to, here are some ways you can adjust this recipe.
- Gluten free: Replace the flour with a 1:1 gluten-free flour (I like Bob’s Red Mill)
- Dairy free: Replace the milk with a dairy-free milk and use a plant-based butter.
Related recipes
Craving more brunchy baked goods? Try these recipes:
- Sunday Morning Crepes
- Bakery-Style Blueberry Muffins
- Chocolate Chip Banana Bread
- Pain au Chocolat Breakfast Bake
- Sourdough Browned Butter Cinnamon Sugar Popovers
Before you go...
⭐️ If you make these easy homemade cinnamon rolls and love them, please leave a comment and leave a five-star rating for this recipe! ⭐️
I love to hear from you and do my best to respond to each and every comment. And of course, don’t forget to tag me on Instagram — seeing your delicious creations is my favorite!
Print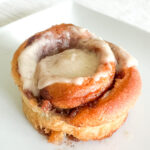
Easy Homemade Cinnamon Rolls
- Prep Time: 2 hours
- Cook Time: 30 mins
- Total Time: 2 hours 30 minutes
- Yield: 20-25 rolls 1x
- Category: Brunch
- Method: Oven
- Cuisine: American
Description
No-knead, easy homemade cinnamon rolls are the perfect addition to your brunch spread. Ooey-gooey cinnamon-sugar filling meets a decadent maple brown sugar icing that melts into each layer.
Ingredients
For the rolls:
- 2 cups whole milk (can also use 2% or almond milk)
- ½ cup vegetable oil
- ½ cup granulated sugar
- 1 (0.25-ounce) package instant active dry yeast
- 4 cups all-purpose flour
- 1 ½ teaspoons kosher salt
- ½ heaping teaspoon baking powder
- ½ teaspoon baking soda
For the filling:
- 1 stick (½ cup) butter, melted
- ½ cup granulated sugar
- 1 Tablespoon ground cinnamon
- Pinch of kosher salt
- Pinch of nutmeg
- Pinch of allspice
For the icing:
- 2 ½ cups (about ½ bag) powdered sugar
- ¼ cup brown sugar
- ¼ cup whole milk
- 3 tablespoons melted unsalted butter
- 2 teaspoons vanilla extract
- 2 teaspoons pure maple syrup (or 1 teaspoon maple flavoring)
- Pinch of kosher salt
Instructions
- Heat 2 cups of milk, ½ cup of vegetable oil, and ½ cup of sugar in a medium saucepan until milk is warm (105ºF-115ºF) and sugar is melted into the milk. Sprinkle 1 packet of instant yeast on top and let it sit for 1 minute, until the yeast is foamy.
- Add 4 cups of flour and stir until just combined, then cover with a clean kitchen towel and set aside in a warm place for 1 hour.
- After 1 hour, remove the towel, add 1 ½ teaspoons kosher salt, ½ heaping teaspoon baking powder, and ½ teaspoon baking soda, and stir thoroughly to combine. At this point, you can use the dough right away, or place it in the refrigerator, covered, for up to 3 days, punching down the dough if it rises to the top of the bowl. (The dough is easier to work with if it's been chilled for 1 hour.)
- To assemble the rolls, first butter a 9x13-inch baking dish. Remove the dough from the bowl and place it onto a clean floured surface, and roll it into a large rectangle, about 16x12 inches. The dough should be rolled very thin.
- To make the filling, in a small bowl, mix 1 stick melted unsalted butter, 1 tablespoon ground cinnamon, ½ cup sugar, and a pinch each of nutmeg, allspice, and kosher salt, and mix it until well-combined. Spread the butter mixture evenly over the rolls, giving it another generous sprinkling of cinnamon.
- Beginning at the long side furthest from you, roll the rectangle tightly towards you. Use both hands and work slowly, being careful to keep the roll tight. When you reach the end, pinch the seam together and roll the dough log so the seam is facing down.
- Using dental floss, slide the floss underneath the end of the log about 1 inch and bring both ends up and cross them to cut the log into a roll. (You can also transfer the log to a cutting board and slice it crosswise with a sharp knife.) You should have 20-25 rolls. Place them in a buttered 9x13-inch pan, being careful not to overcrowd. At this point, you can cover with plastic wrap and place in the refrigerator until ready to bake.
- When ready to bake, preheat the oven to 350ºF and cover the pan with a kitchen towel and let it rise on the countertop for 20 minutes to 1 hour. Remove the towel and bake until golden brown and puffy, about 25-30 minutes if room temperature, or 40-45 minutes if baking straight from the refrigerator.
- While the rolls are baking, make the icing. In a large bowl, whisk together 2 ½ cups powdered sugar, ¼ cup brown sugar, ¼ cup milk, 3 Tablespoons melted butter, 2 teaspoons vanilla extract, 2 teaspoons of maple syrup, and a pinch of kosher salt. Whisk until very smooth. Taste and add in more maple, sugar, and butter, as needed, until the icing reaches the desired consistency (thick but still pourable).
- Remove the pans from the oven and immediately drizzle with the icing. Make sure to get it all around the edges and over the top. As they sit, the rolls will absorb some of the icing's flavor.
One more thing!
This recipe is a part of my Breakfast + Brunch collection — check it out!
Want more baking inspo?
Subscribe to my newsletter for weekly recipes that bring big flavor with minimal fuss, because delicious doesn’t have to be complicated.
💬 Let’s settle this once and for all — center roll or edge roll? Tell me in the comments!
Share Your Thoughts